Today, we upgraded our little mini quad rotor flying drone that we call “The Black Hornet.”
We replaced his main board, installed new propellers, re-fixtured his motor mounts, and got him in good flying shape. He flew steady and strong in our test flights.
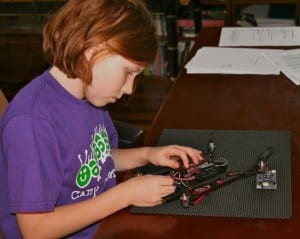
Genevieve soldering the main circuit board for the Black Hornet
Genevieve connecting electronics on the Black Hornet mini quad rotor
Genevieve finalizing the upgrades on the Black Hornet mini drone
My sister Genevieve is an expert solderer. Her hands are small, steady, and well practiced. Here is a picture of her soldering a voltage regulator for our Spirit II Mars Rover project.
Genevieve soldering
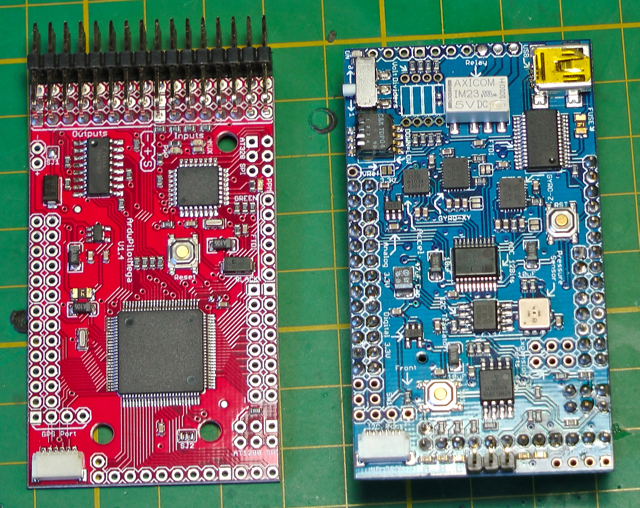
Here is a one minute video of Genevieve soldering the header pins onto a circuit board. We use this circuit board, which has more than a hundred solder points, on our flying drone robot. Note that she is using the proper technique by applying the tip of the soldering iron to the pin and hole, then bringing in the solder from the side.
CREDITS:
Solderer: Genevieve (9 years old)
Director & Videographer: Camille (11 years old)
Editing: Camille, Genevieve, and R.
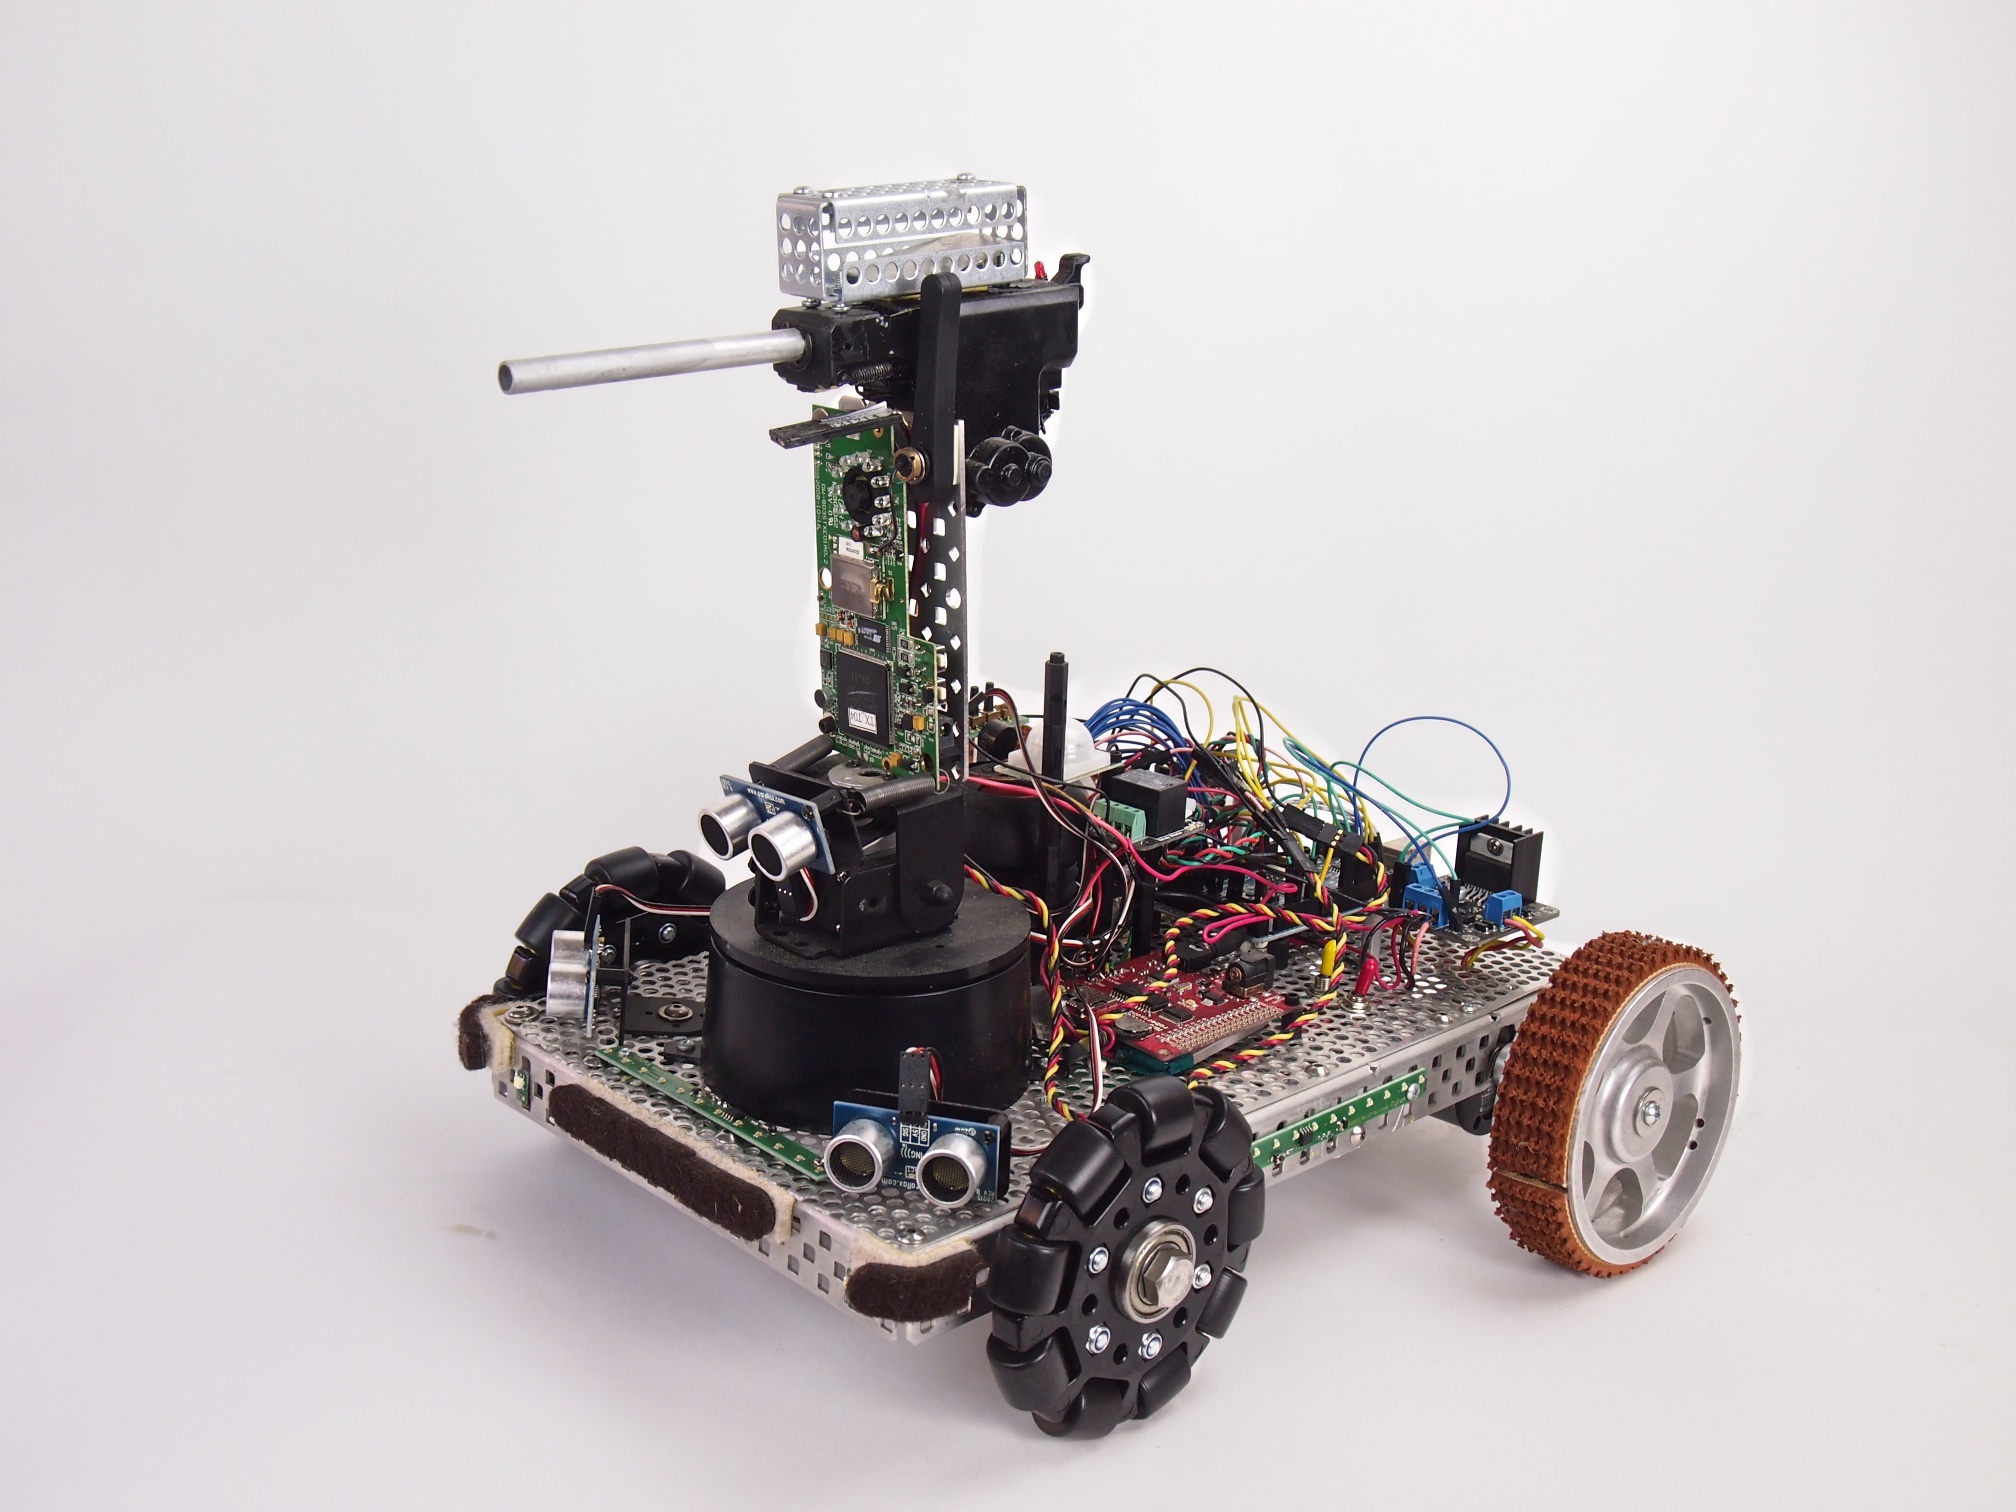
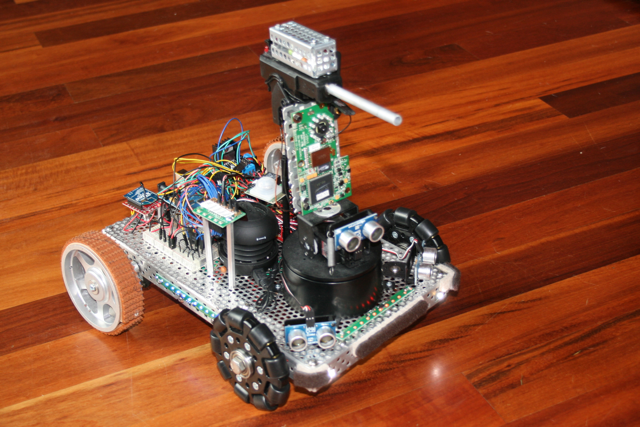
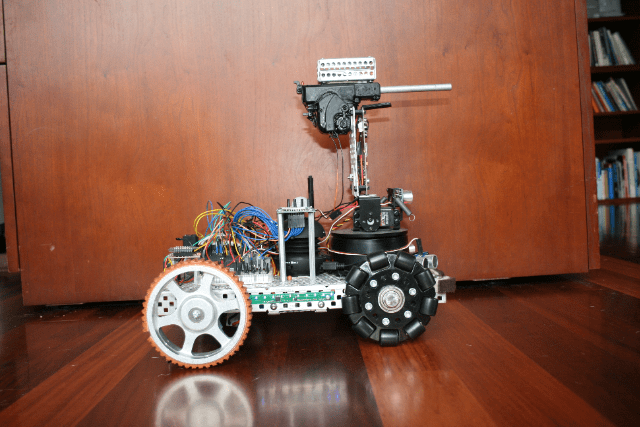
Security V is a small security robot. It’s equipped with the following capabilities:
Automatic electric gun (Airsoft pellet gun) with ammunition cage
Pan-Tilt Gun Turret
Targeting laser
FPV Camera
(3) Ping sensors for object avoidance
LED Light Strips
MP3 Sound Player
IR Human Detection Sensor
Moto Controller
Two motors
Two treaded drive wheels and two omni wheels
Arduino Mega Microcontroller
Xbee Radio for remote control
Button panel for selecting the mode
We programmed it with five different modes:
1. Roams autonomously around the house, playing R2-D2 like sounds as it explores & avoids obstacles 2. Remote Control 3. Dance Mode (Plays the song Mr. Roboto and dances around) 4. Guard Mode (enables its infrared human detection sensor and plays a police siren if anyone tries to sneak past it) 5. Shoot (shoots the gun)
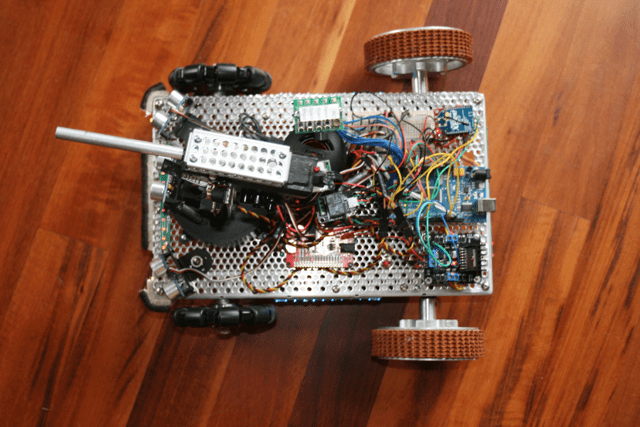
Security RobotSecurity RobotSecurity Robot – Top View
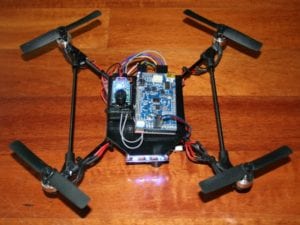
After building our first Arduino-based flying drone robot, we decided to take what we learned and build a tiny quadrotor that was safe to fly indoors and out. We used the same electronics, but built the frame out of ABS sheet and kite parts. This little robot, which we call the Black Hornet, is about 7″ across between the props. He’s great fun to fly day or night (he’s equipped with two arrays of cool blue LEDs), and definitely sounds like a huge hornet.
The Black Hornet mini drone
The Mini Flying Drone has since been upgraded with an all new frame design based on a sandwich of three custom-made carbon fiber plates and four carbon fiber square shafts.
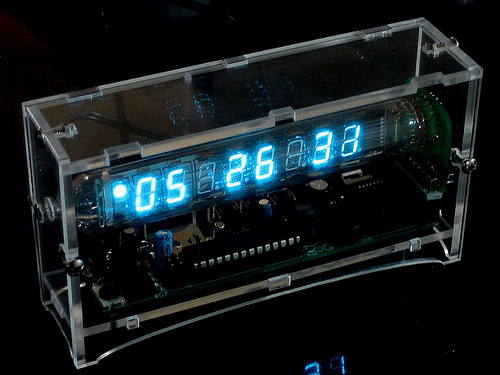
We decided to take a day out from the robots and build a super-cool “Ice Tube Clock Kit” from Adafruit. The kit came as several hundred little capacitors, transistors, microchips, and other components, which Genevieve soldered one by one into a little circuit board. I was “chief supervisor” (which means I did nothing but watch) while Genevieve did all the work to put this thing together. Here is an example of some of the individual components we started with:
The coolest part of this little clock is the retro, 1970-vintage Russian vacuum tube that displays the numbers. You can just imagine this old vacuum tube being pulled out of some Russian submarine:
This next picture provides a close up of the circuit board and components that Genevieve soldered together:
We loved building this kit! It took us one good day of work, with plenty of breaks throughout the day, and it was great fun. These kits can be purchased from www.adafruit.com here.