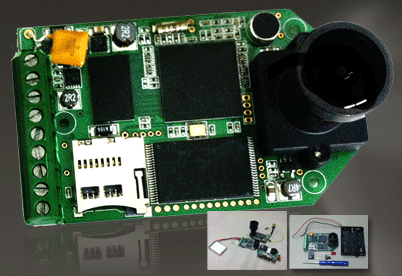
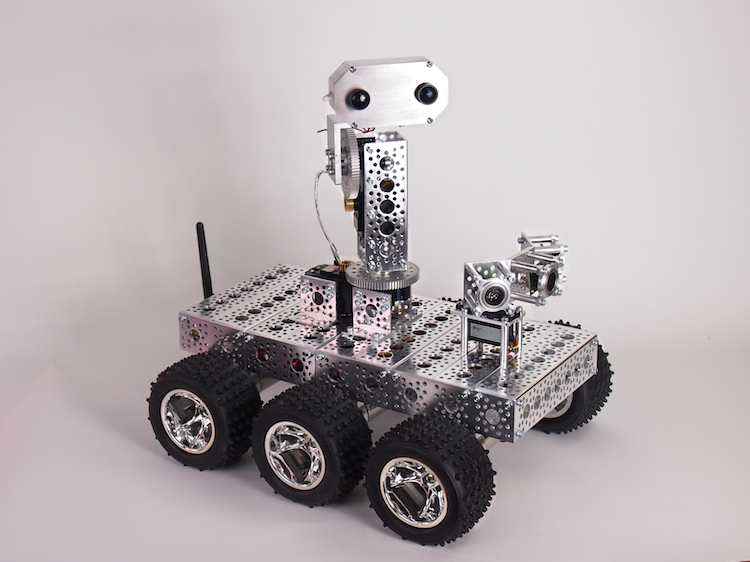
A little while ago, we discovered a cool new high definition video camera called the Hack HD. Think of it as the internal circuit board and camera lens of a 1080P GoPro camera, but unlike a GoPro, it’s designed to be hacked and tinkered with. It’s small and easy to embed into your own project. They even provide screw terminals for wiring it up. It’s also cheaper than a GoPro, which most people are leery of taking apart because of its price tag. The Hack HD records video to a micro SD card. It also sends VGA video through its Video Out wires. On our Actobot rover, we’ve wired the Video Out to a long distance transmitter and a pair of FatShark Video Goggles so that we can drive around remotely via First Person View (FPV)(more on that in a later post).
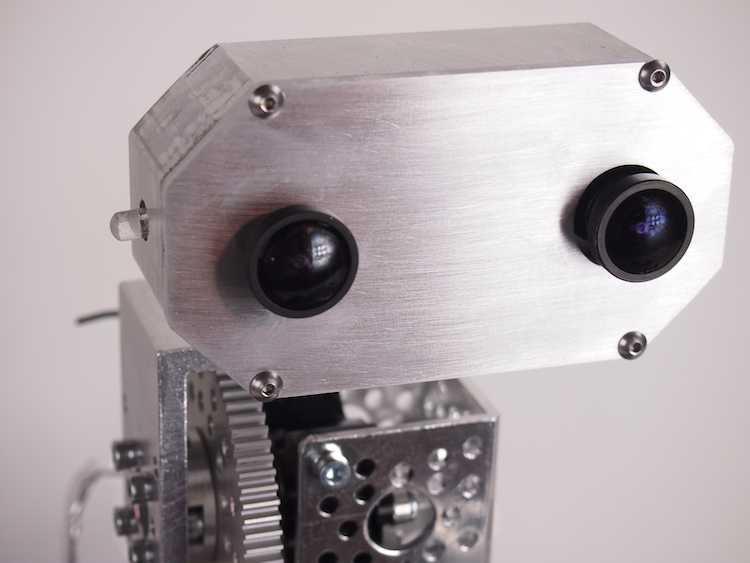
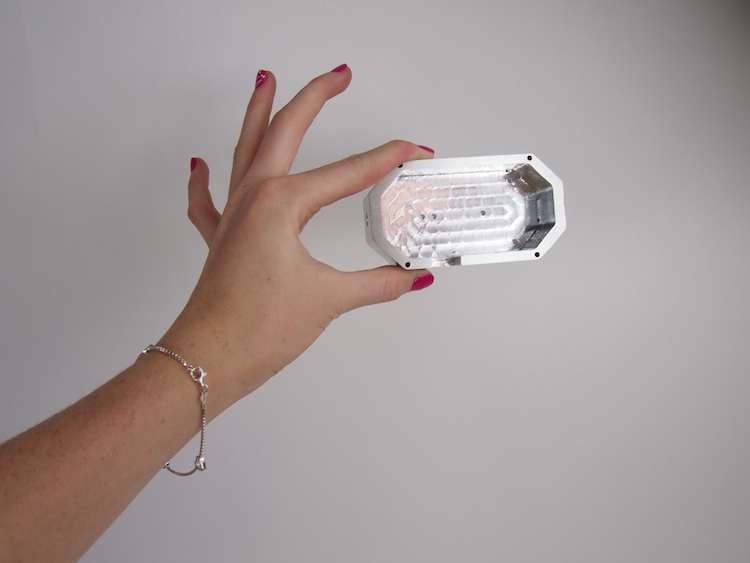
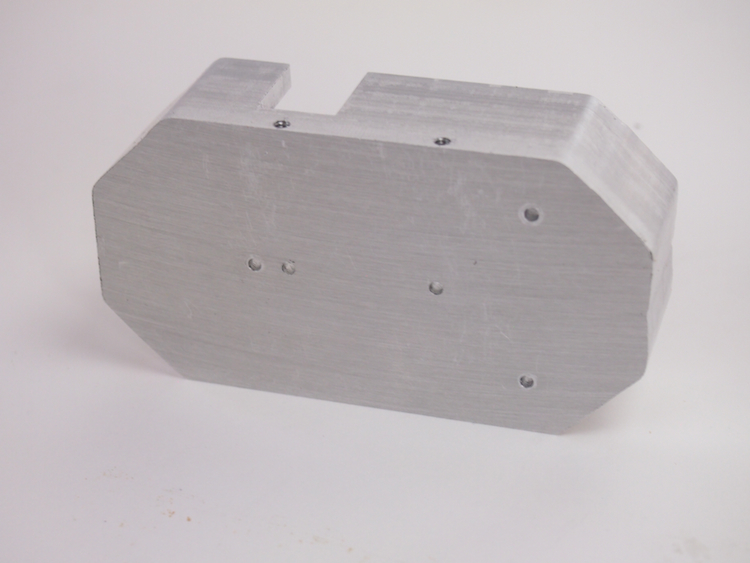
We used our CNC Mill to machine a custom case for the Hack HD so that we could mount it on the Actobot’s pan/tilt turret.
We should note that the Hack HD only has one lens (as shown in the photo at the top of this posting), but we wanted to experiment with giving the Actobot “eyes” so we built a false lens into the case.
With the completion of this case, our Actobot’s pan-tilt turret can now be quick-changed between three different video options : a WiFi camera, a GoPro, or a HackHD.
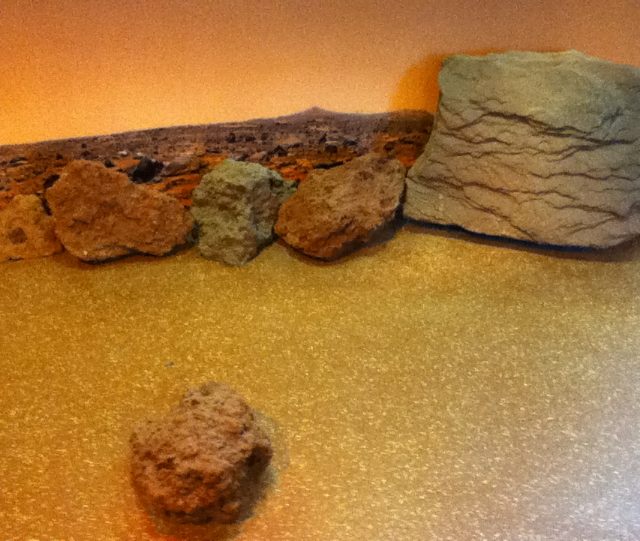
The Mars Rover needs to detect infrared in its camera so that visitors can identify infrared-emitting rocks that are hidden in various spots in the Mars Exhibit. We have completed a series of experiments to confirm that this part of the Rover is working properly. Pics and explanation below.
The Mars exhibit has many Mars rocks. A few of the rocks are hollow and have an infrared lamp inside so the rock emits infrared energy. The visitor’s objective is to drive the Rover around the Mars exhibit and find the hidden infrared-emitting rocks. (On the real Mars, infrared-emitting rocks indicate that the rocks may have been formed in liquid water, and therefore may be a clue to past life on Mars)
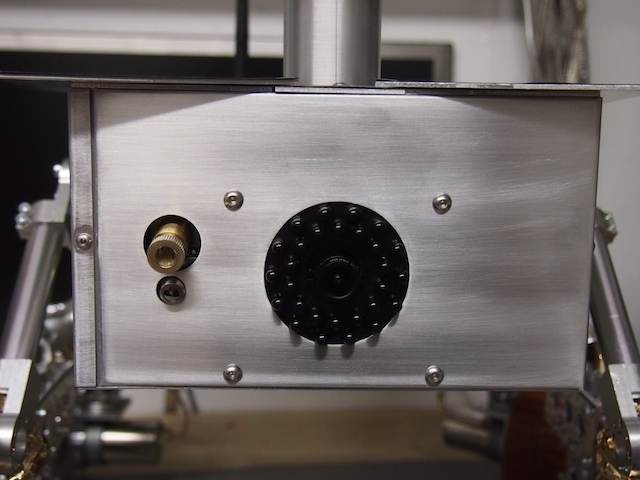
The Mars Rover is equipped with the inner core of a high-quality 640×480 WiFi camera (the Sharx Security SCNC2700). The video camera looks straight ahead from its front panel. By sending the camera a special web-post (thank you to the folks at Sharx for their special help on this), we can programmatically turn the camera’s IR cut-filter on and off, thereby switching the camera between “Normal Camera” mode and “Infrared Camera” mode.
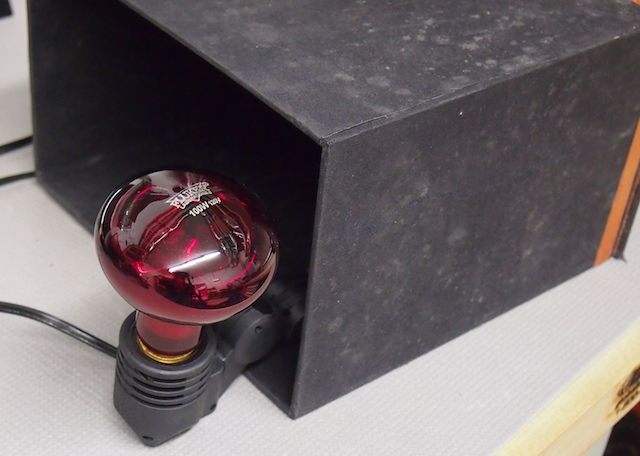
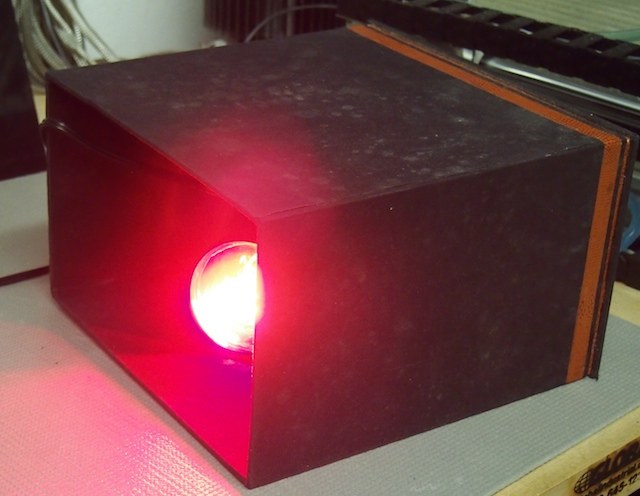
We didn’t have a “Mars Rock” to work with in our workshop, so for this experiment, we placed an infrared lamp inside a black box.
We turned the infrared lamp on.
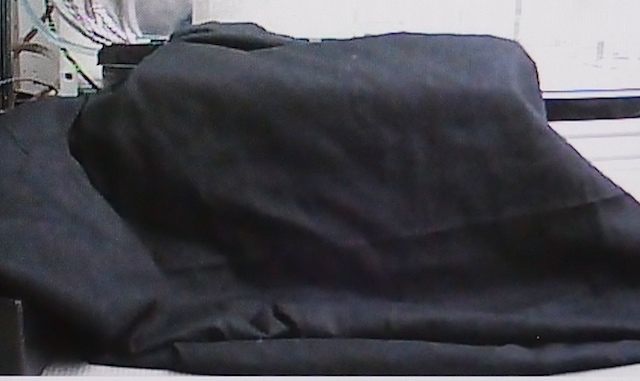
We then covered the box with six layers of black muslin cloth. To the naked eye and when viewing it through the video camera in normal viewing mode it looks simply black. This is serving the purpose of our “Mars Rock” for this experiment. This is a picture of what we see on screen in the camera’s video stream. It looks like normal black cloth.
We then turn on the “Infrared Camera” mode. Just as we hoped and theorized, the black box now appears as bright white in the camera. So, when visitors to the exhibit switch the Rover’s camera into “Infrared Camera” mode they will be able to easily differentiate the infrared-emitting rocks from the normal rocks.
Special thanks to the folks at Sharx Security for not freaking out when I told them I was tearing one of their cameras apart piece by piece, integrating it into our robot, and sending it to “Mars.” They were very helpful in providing the technical information we needed to get the camera to do what we needed it to do. All indications are that it’s going to work very well for us.
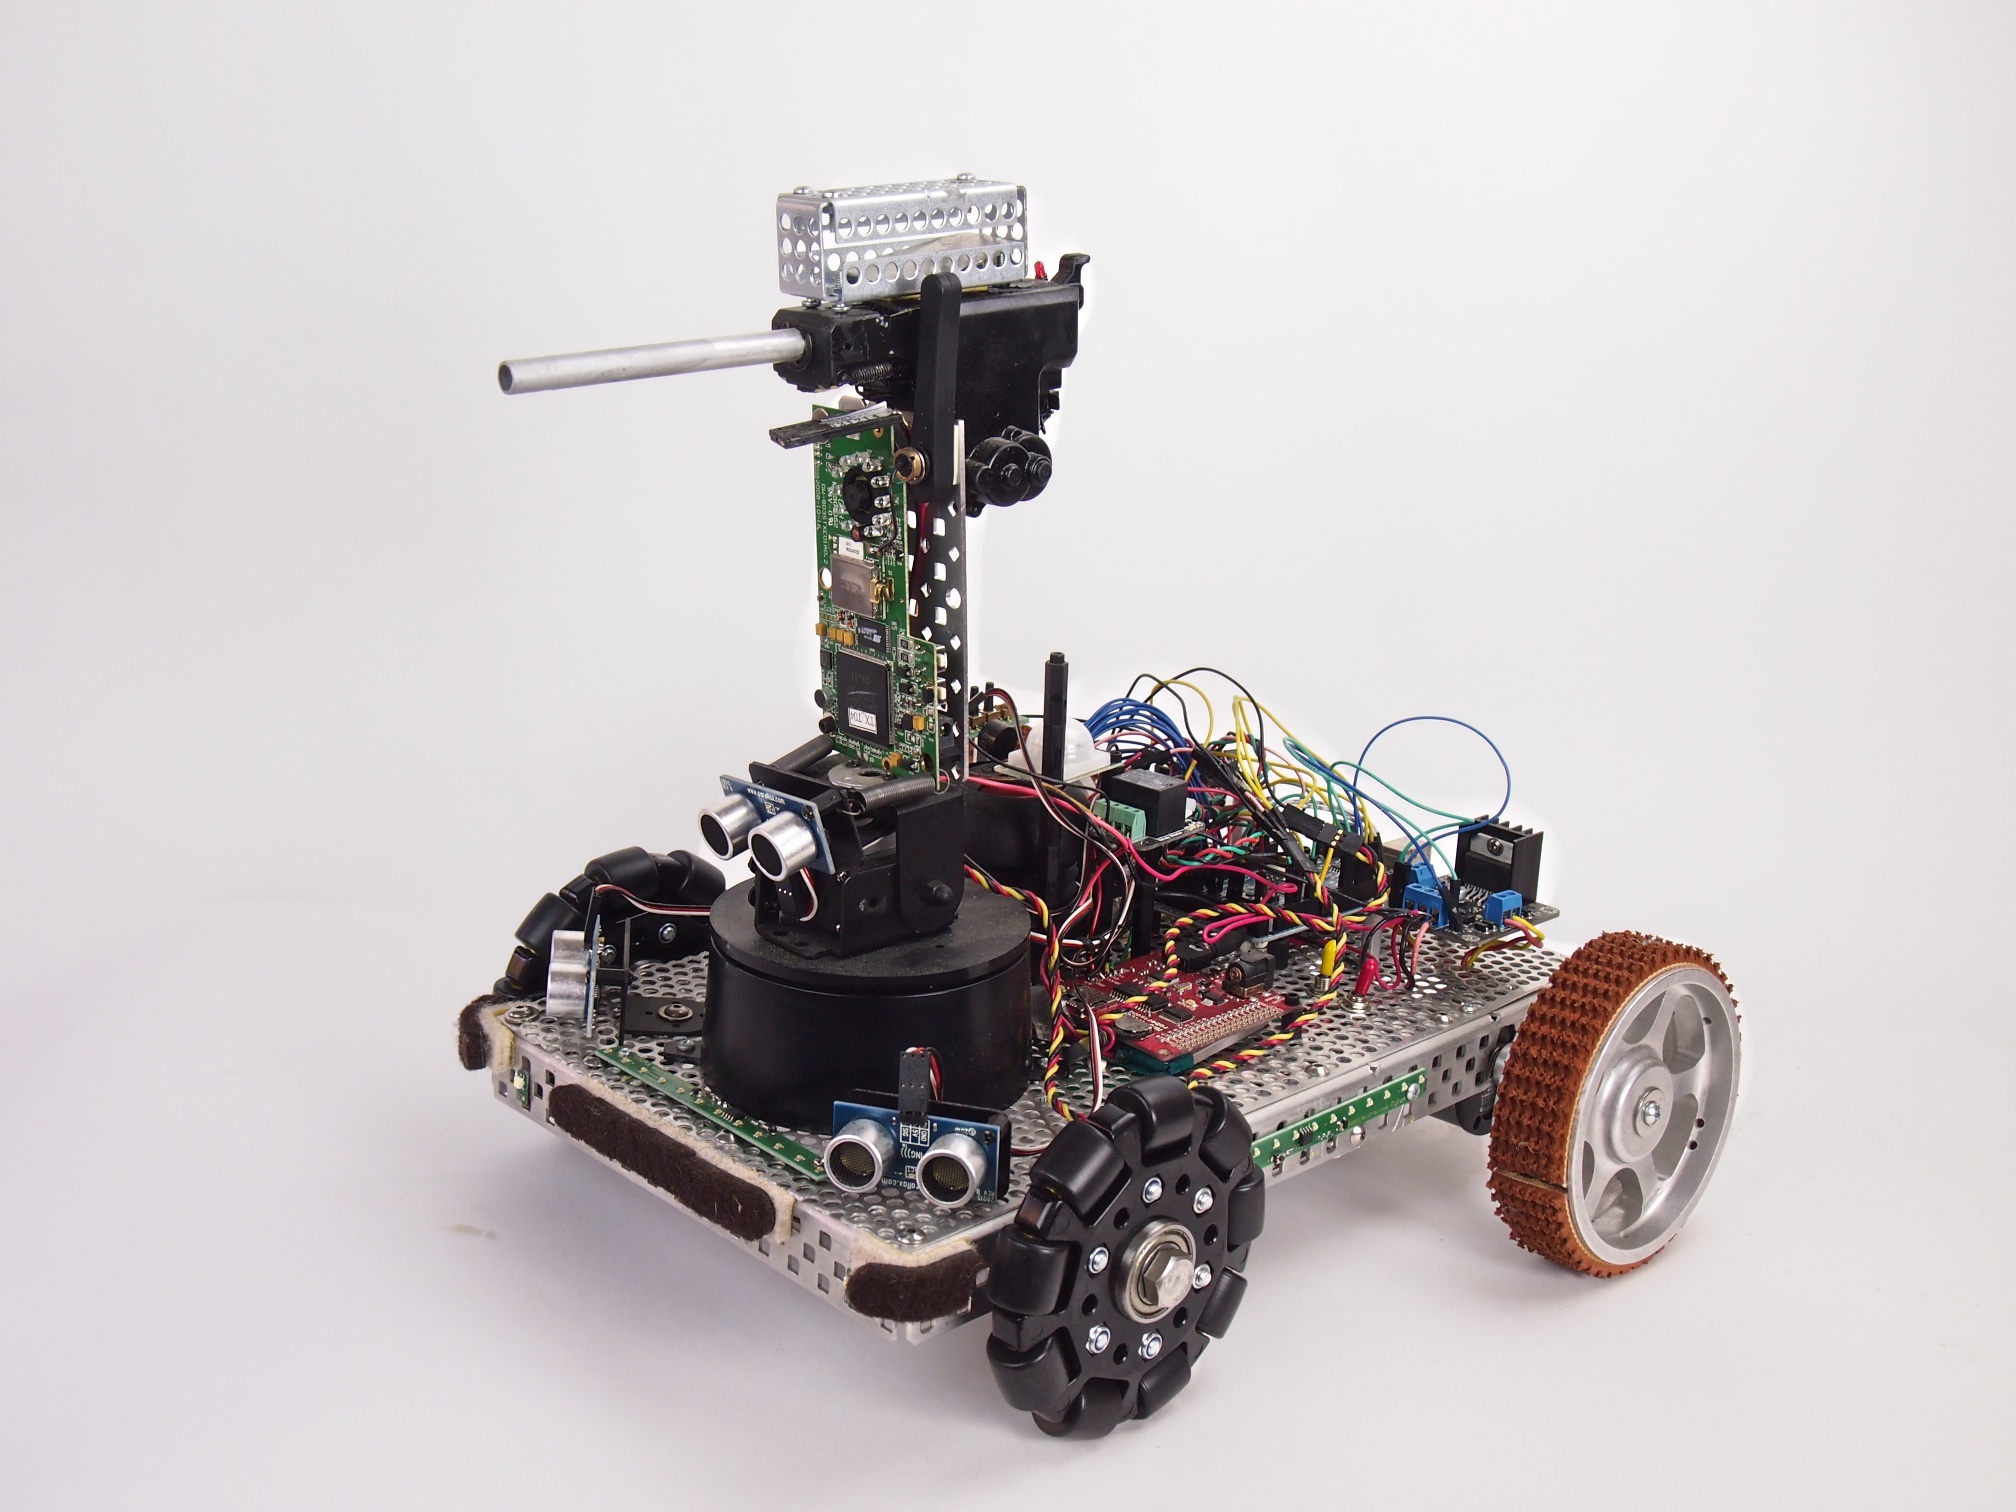
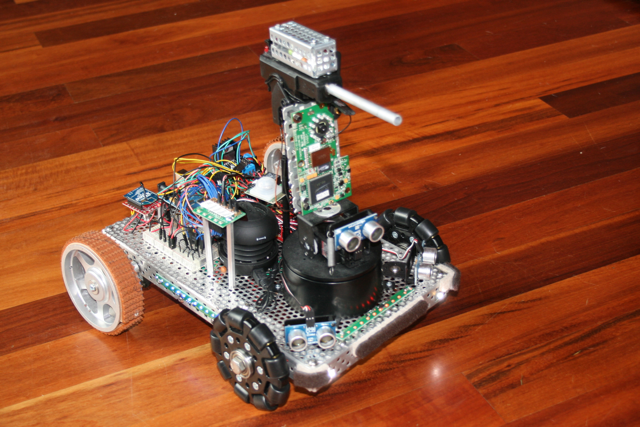
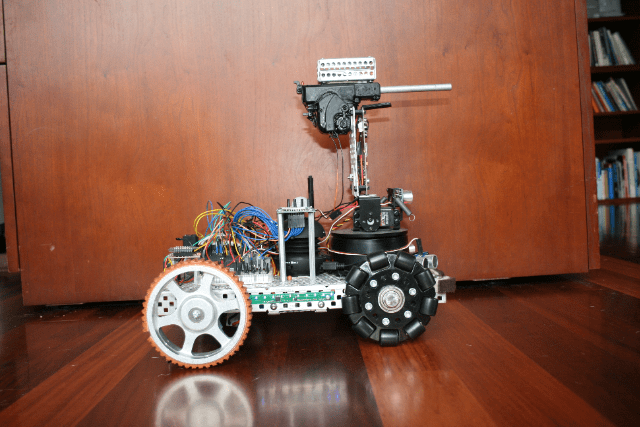
Security V is a small security robot. It’s equipped with the following capabilities:
Automatic electric gun (Airsoft pellet gun) with ammunition cage
Pan-Tilt Gun Turret
Targeting laser
FPV Camera
(3) Ping sensors for object avoidance
LED Light Strips
MP3 Sound Player
IR Human Detection Sensor
Moto Controller
Two motors
Two treaded drive wheels and two omni wheels
Arduino Mega Microcontroller
Xbee Radio for remote control
Button panel for selecting the mode
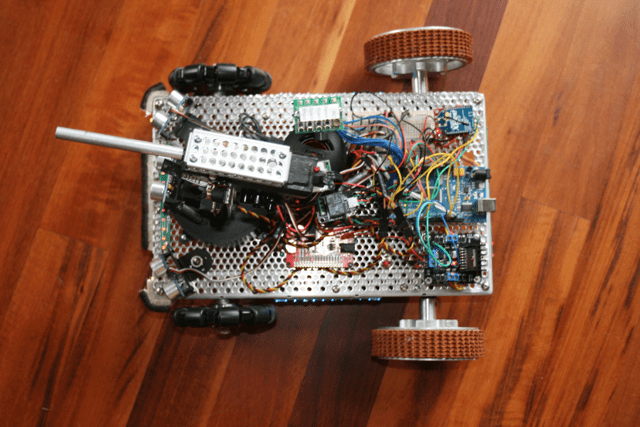
We programmed it with five different modes:
1. Roams autonomously around the house, playing R2-D2 like sounds as it explores & avoids obstacles 2. Remote Control 3. Dance Mode (Plays the song Mr. Roboto and dances around) 4. Guard Mode (enables its infrared human detection sensor and plays a police siren if anyone tries to sneak past it) 5. Shoot (shoots the gun)
Security RobotSecurity RobotSecurity Robot – Top View
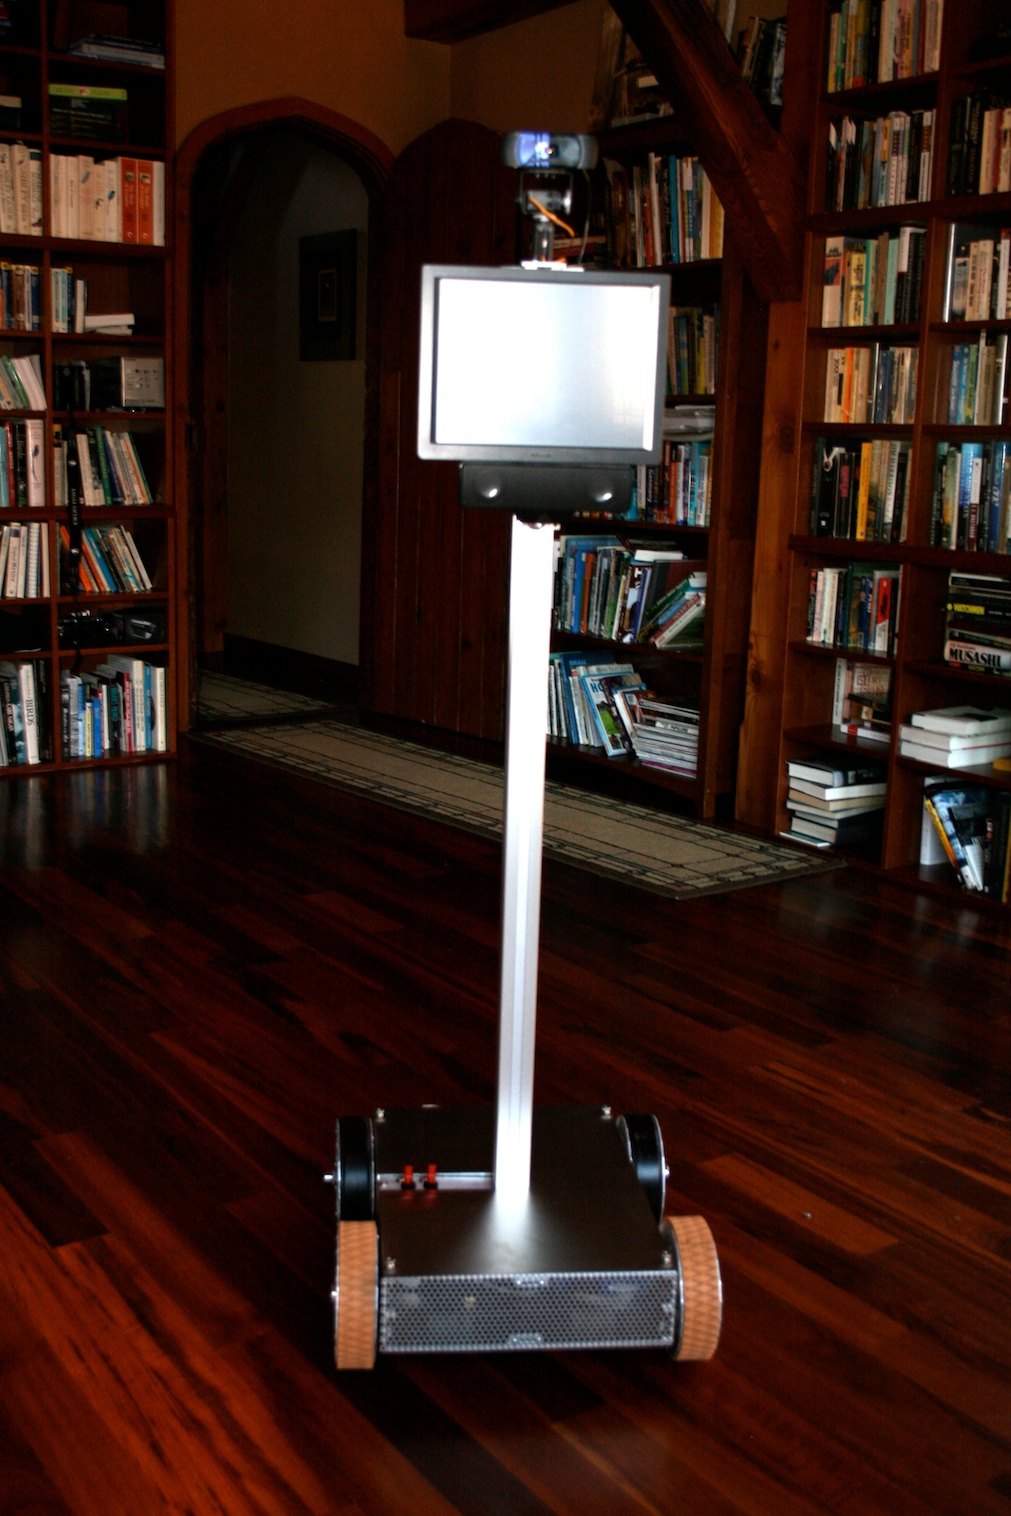
This is Telegance. He is a Telepresence Robot, which means he’s a driver-controlled mobile video conferencing system.
Imagine I’m out in the world. I can use my laptop or any other computer to link into the robot through the Internet. The people around the robot see my face on the robot’s screen. The sound of my voice comes through the speakers, which are mounted just below the screen. I hear through the robot’s microphone and I see through the robot’s camera, which is mounted on two little servos, so I can tilt and pan the camera where I wish to look. I can drive the robot around the house, to the kitchen or the bedroom or where ever, using the robot’s built in motors. His wheels are designed to drive or turn on carpet, tile, and hardwood floors.
Side View of Base
How We Built Him
Telegance was a lot of fun to build, but he was definitely one of our most challenging robots so far. We learned a lot. Telegance is our first robot that is based on a computer rather than a microcontroller chip/board. Our vision was to build a robot based on a Mac. So, we grabbed a Mac Mini, tore it apart, ripped everything off that we didn’t need, rewired it for DC (it was an AC computer), and replaced the conventional hard drive with a Solid State Drive (SSD) (so that we didn’t need a fan, it didn’t make any noise, and it used less power). We installed just the stripped down motherboard into the base of the robot. When it booted up it was silent, fast, and ran on 12 volts like the rest of the robot. We then connected this to an Arduino Mega microcontroller through a USB cable. The Mac Mini, which runs a special Skype plugin, handles the webcam videoconferencing (using Skype), the touch screen, and 802.11b networking. The Arduino handles the drive motors, the webcam pan-tilt servos, power distribution, and other robotic features. We constructed the robot’s frame in our workshop using raw aluminum plate and c-channel. We especially like the cool wheels on this robot.
Touchscreen, Webcam on Tilt-Pan Servos, and Speaker: Telegance Robot
Under the Hood: Mac Mini motherboard (left), Arduino Mega Microcontoller (right), Sabertooth Motor Controller, Xbee Radio