by Camille | Robots, Workshop Blog
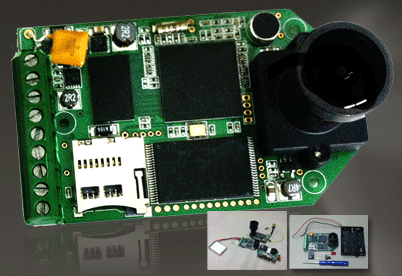
A little while ago, we discovered a cool new high definition video camera called the Hack HD. Think of it as the internal circuit board and camera lens of a 1080P GoPro camera, but unlike a GoPro, it’s designed to be hacked and tinkered with. It’s small and easy to embed into your own project. They even provide screw terminals for wiring it up. It’s also cheaper than a GoPro, which most people are leery of taking apart because of its price tag. The Hack HD records video to a micro SD card. It also sends VGA video through its Video Out wires. On our Actobot rover, we’ve wired the Video Out to a long distance transmitter and a pair of FatShark Video Goggles so that we can drive around remotely via First Person View (FPV)(more on that in a later post).
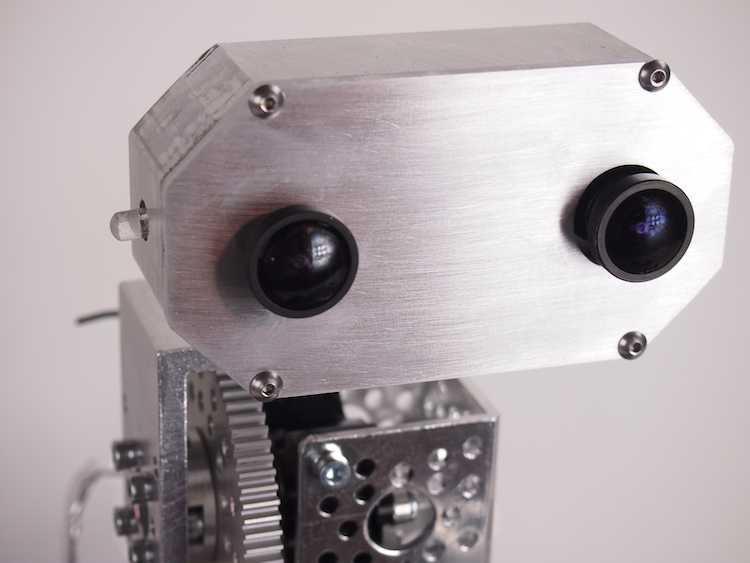
We used our CNC Mill to machine a custom case for the Hack HD so that we could mount it on the Actobot’s pan/tilt turret.
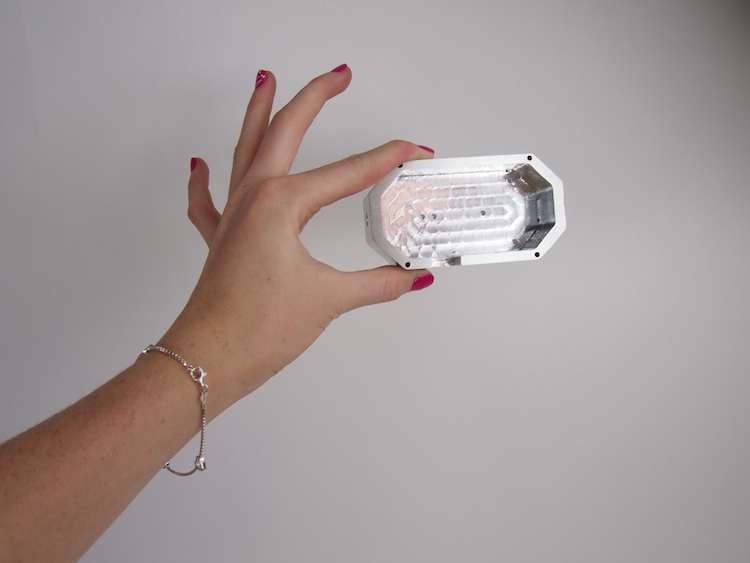
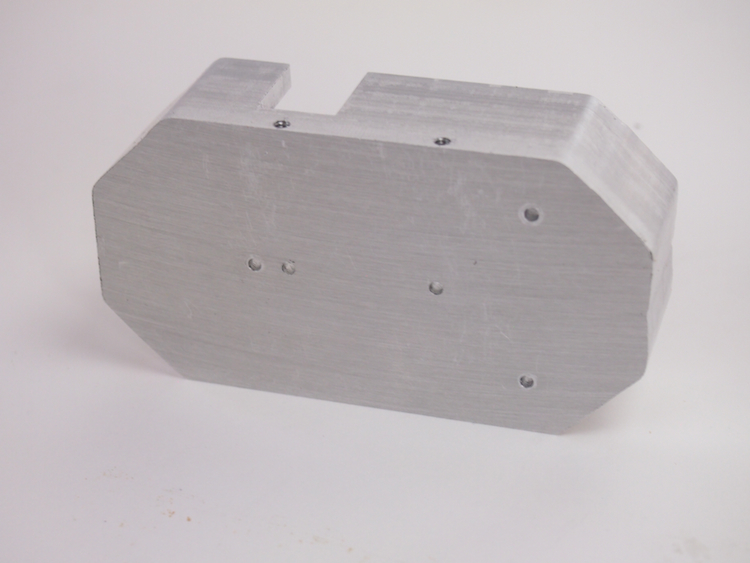
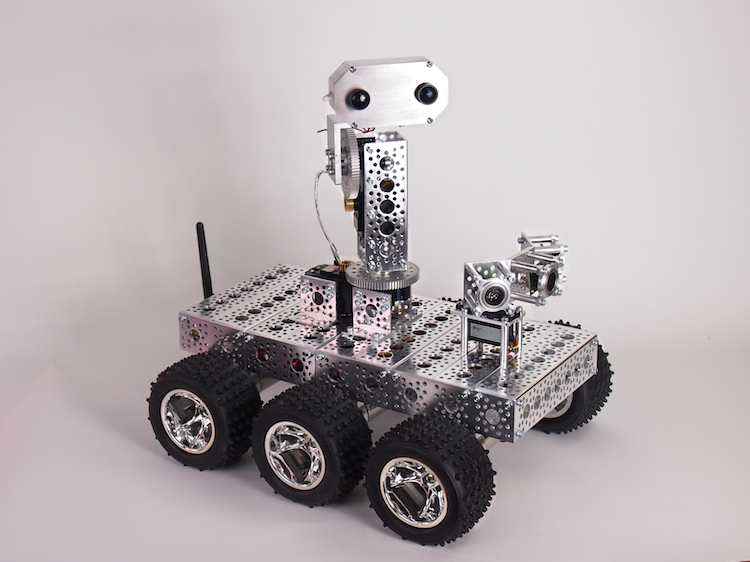
We should note that the Hack HD only has one lens (as shown in the photo at the top of this posting), but we wanted to experiment with giving the Actobot “eyes” so we built a false lens into the case.
With the completion of this case, our Actobot’s pan-tilt turret can now be quick-changed between three different video options : a WiFi camera, a GoPro, or a HackHD.
by Camille | Robots, Workshop Blog
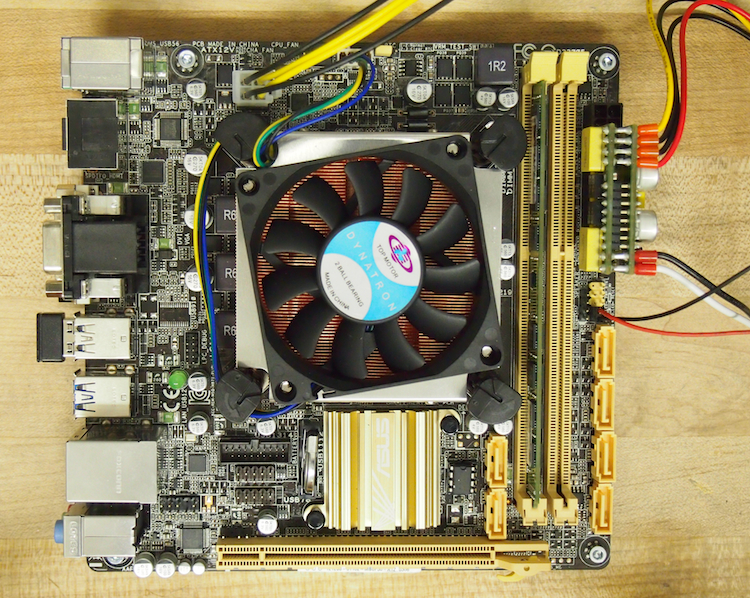
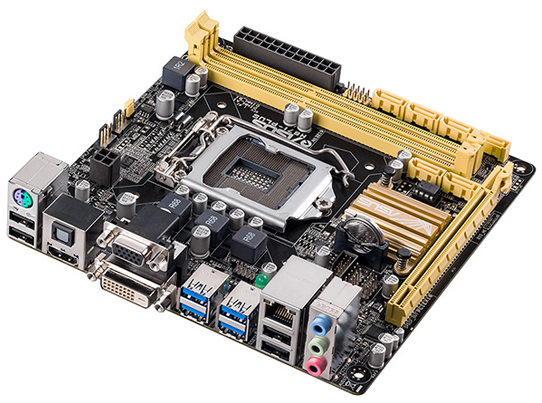
As you know, we usually use Arduino microcontrollers on our robots. But in some cases, an Arduino doesn’t have enough power to do what we need to do. We are currently working on a new project that requires advanced image processing for target acquisition. This can’t be done on an Arduino, so we had to find an alternative. We researched the idea of using a Raspberry Pi or a Beagle Bone Black, but these single board Linux computers weren’t powerful enough either. On our CNC Mill and our “Telegance” telepresence robot, we enjoyed building a custom computer, so we decided to do it again for this new project. We needed the computer to be small, powerful, low power consumption, no screen, no keyboard, and capable of Windows 7. We decided on an ASUS Mini ITX motherboard, which is about 6.7″ square:
We installed an Intel Core i5 Haswell processor, which has 4 cores and a standard clock speed of 2.90Ghz, overclockable to 3.60 Ghz.

I don’t know if it will be necessary (I hope it won’t be), but we’ve added a processor fan just in case. After doing some tests, we hope to remove this.

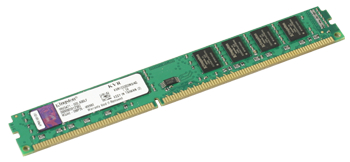
Next, we added 4GB of RAM (DDR3 SDRAM):
We love Solid State Drives (SSD) for our small computers because SSD drives are super small, super fast, low power consumption, and no moving parts. It slides nicely beneath the motherboard:

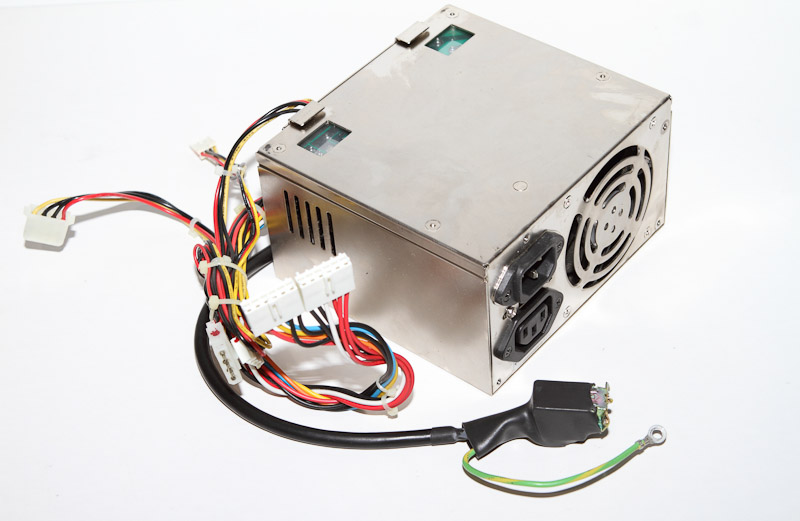
A normal computer power supply is typically a huge beast that looks like this:
To avoid using up all that space, we found this super cool tiny power supply called a picoPSU that plugs right into the 24-pin jack on the Mini ITX motherboard. This neat little PicoPSU takes up no additional space.
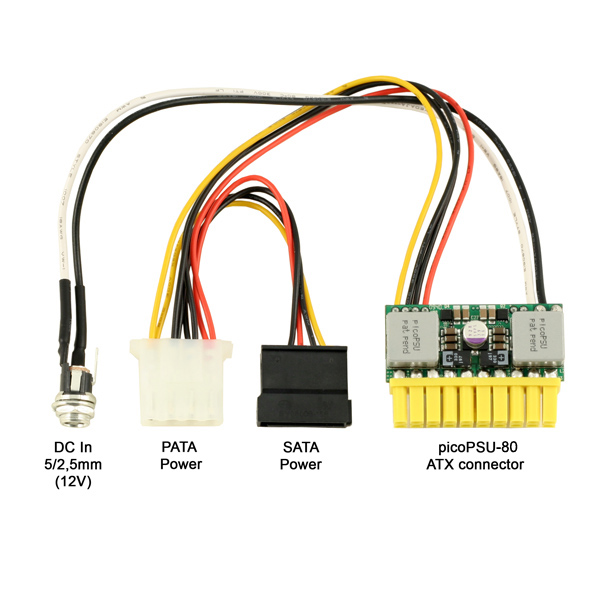
We had to combine this with a few additional cables to make it work, but once we figured it out, it was super easy.
So, our fully-assembled computer, with the motherboard, CPU, fan, RAM, hard drive, and power supply has a footprint of 6.7″ inches square. Not too bad. We set it up and tested it. Running directly off our robot’s 12v lithium-ion battery, it runs our target acquisition application very nicely. In normal use, this computer will operate on its own without a human interface, but in those situations where we need to interact with the computer, we plug a small 7″ LCD monitor into the HDMI port and we use a USB-based wireless keyboard and mouse. In future posts, we’ll show you the robot that it’s going into. This is just one of the components inside.
by Camille | Robots, Workshop Blog
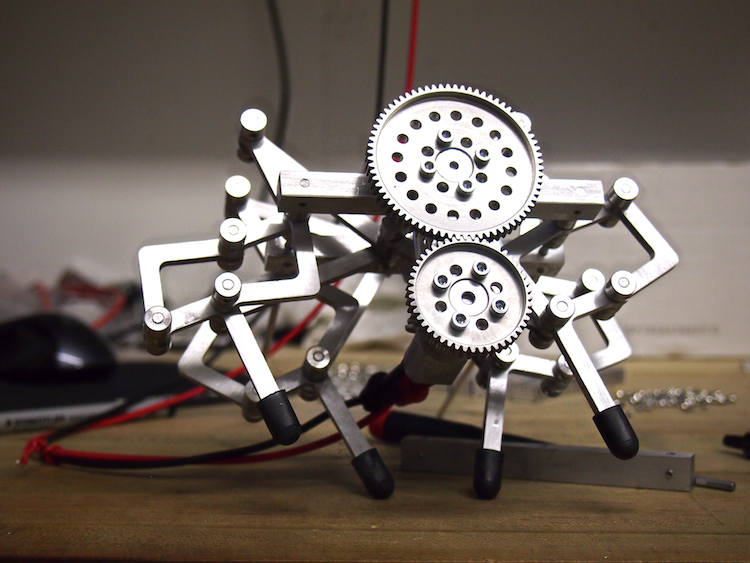
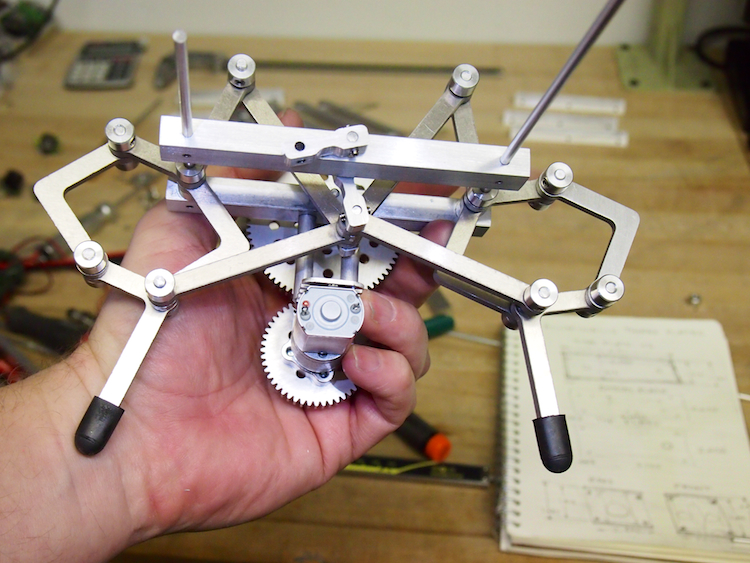
Aluminalis is a 16-legged walking robot that we are designing and building out of custom aluminum linkages and crankshafts. We will provide much more detail about the design, name, and behavior of this little creature as we go along, but for now, here are some very rough pictures.
A little bit of Aluminalis begins to take shape
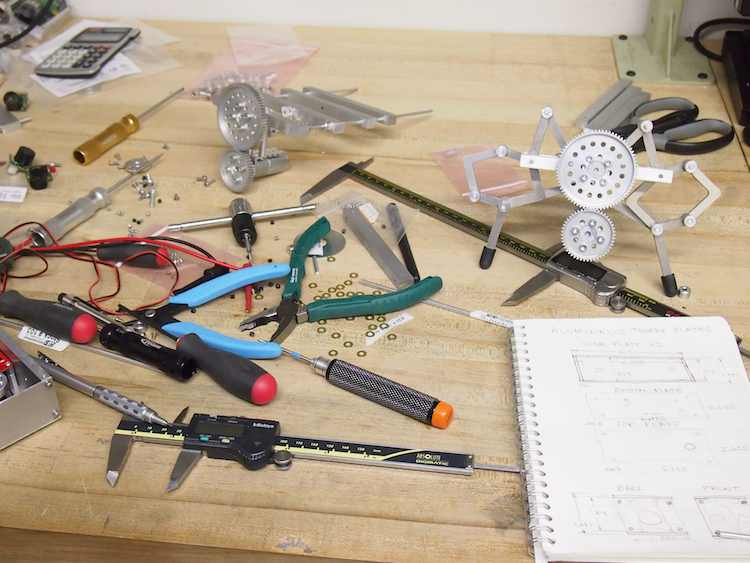
Work in progress on the bench
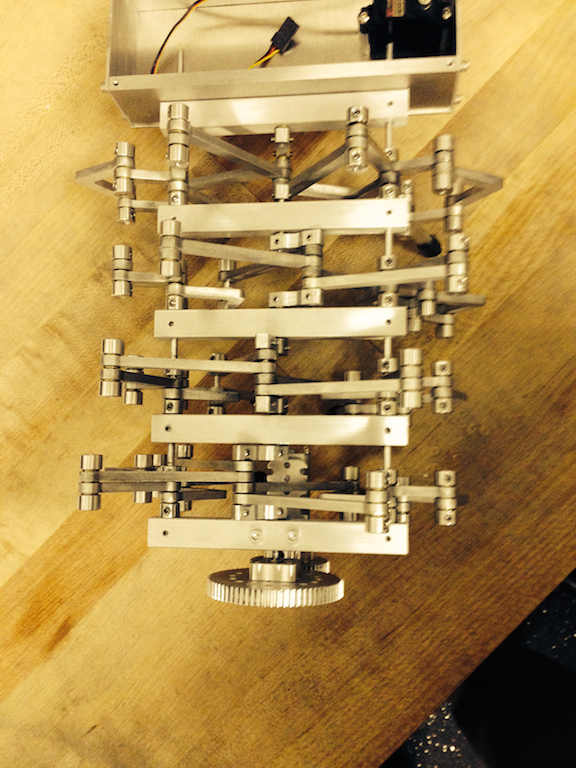
Aluminalis linkages from the back side
2 legs of 16 to come
Top of a 2-leg section
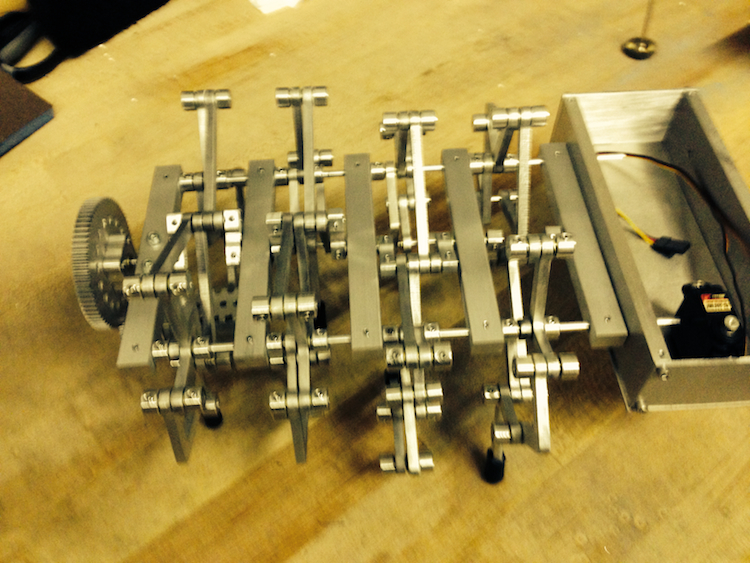
Top view showing the 8 legs on one side, plus the thorax in the middle.
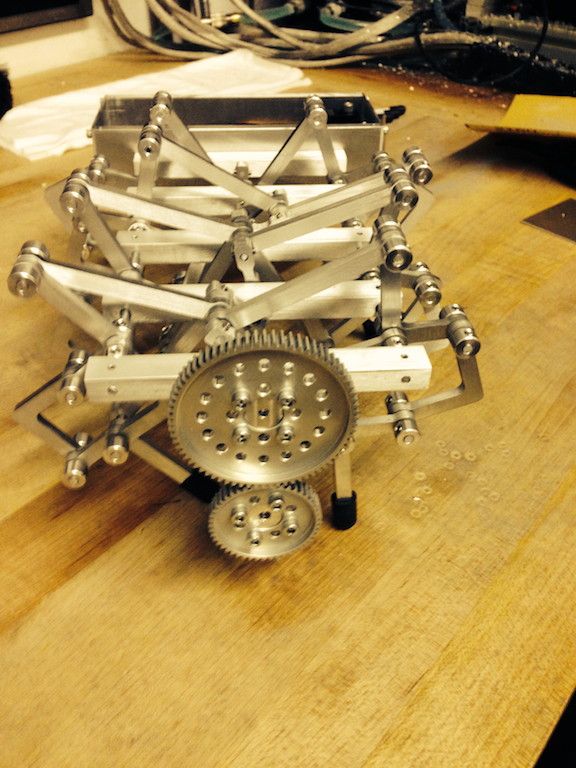
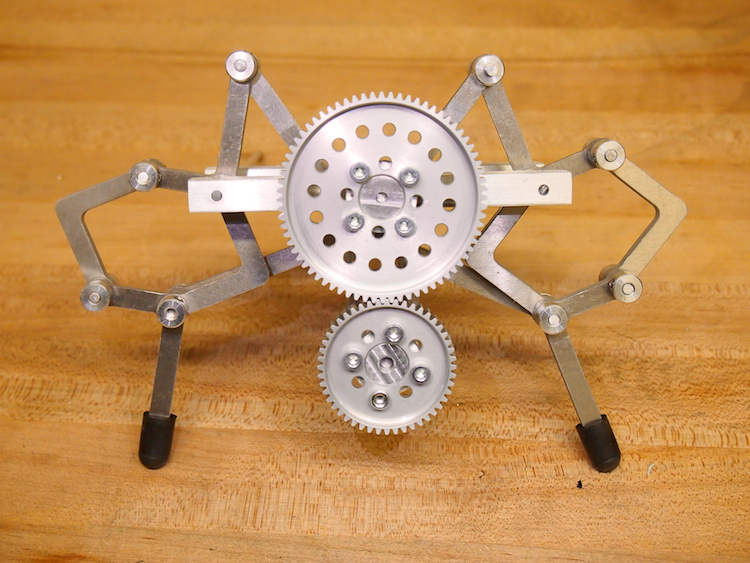
End view showing the drive gears and 8 legs
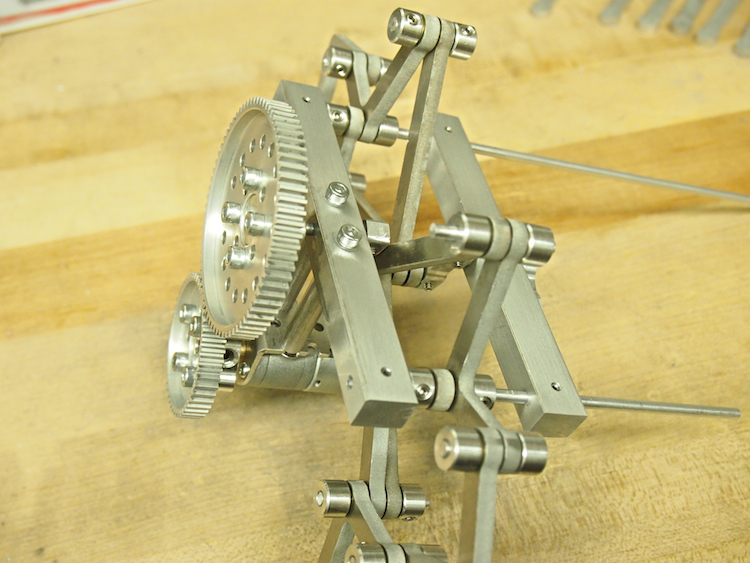
Front view of one side
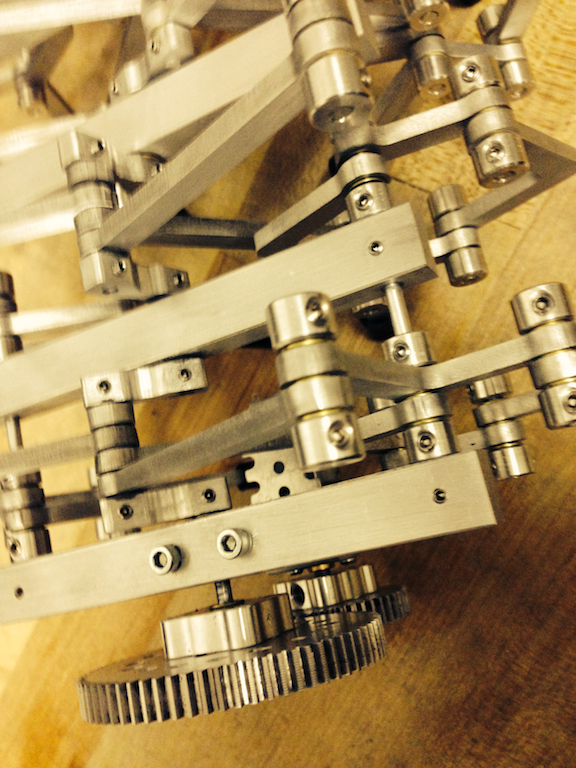
Close up of the linkages and the central crank shaft

by Camille | News & Media, Workshop Blog
We exhibited the Mars Rover at the 2013 World MakerFaire in New York. There were 650 maker exhibits and more than 85,000 attendees. Beatty Robotics was deeply honored to receive the MAKE Editor’s Choice Award (Blue Ribbon) for our Mars Rover project. We also won the Excellence in Education Award.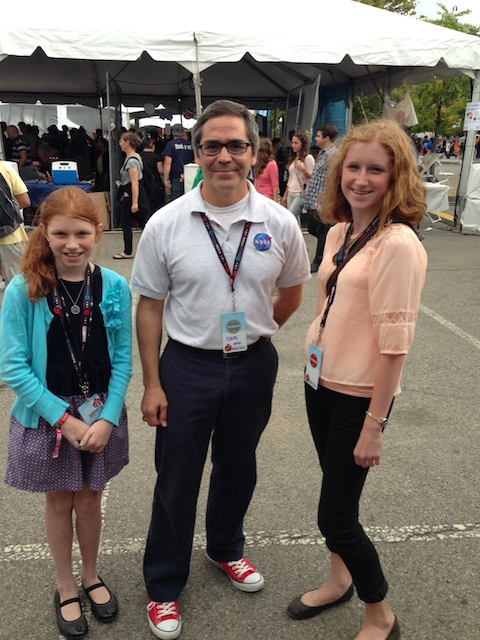
We met with the folks from NASA, which was a blast. NASA was doing some serious recruiting on us, hoping to get us interested in one of their robotics challenges. We also met a lot of impressive makers, many parents who wanted to get their children into robotics, and many other wonderful people. We were also sited in one of the big Arduino presentations as an example that people of all walks of life can get into electronics. It was also great to connect with some of our favorite vendors and sponsorship partners, like the awesome folks from Actobotics / ServoCity.com . The picture below shows Genevieve and I after their meeting with NASA.
by Camille | Robots, Slider, Workshop Blog
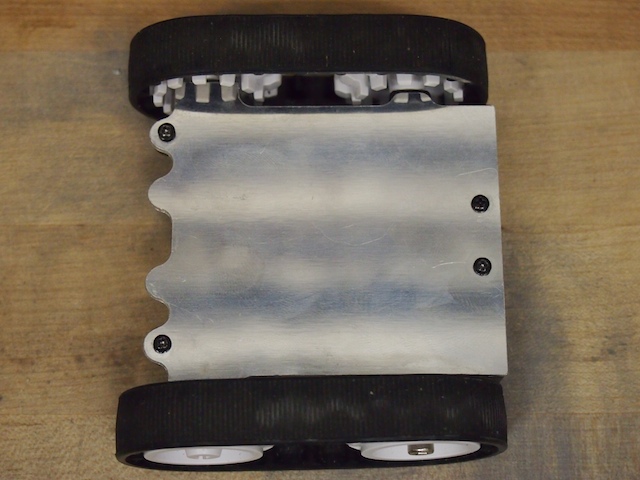
This is Tinybot. About 3″ long and just 1.5″ high, this is one of the smallest robots we’ve ever built. Starting with a Pololu Zumo drivetrain, we set out to see if we could get all the components of the robot INSIDE what was originally its 4 AA battery compartment. We used our CNC to make a cool aluminum top plate. Two tiny gear motors drive the rubber treads. We cut the pins off an xbee radio and soldered it directly to an Arduino Nano’s 3V pin and digital pins so that we didn’t need to waste space with an adapter board or wires. The robot also includes a tiny motor controller, a little 800 mAh 7.4V LIPO battery, and a rocker switch. This neat little robot works beautifully. It zips around with incredible agility, either via xbee-based remote control or through a pre-programmed autonomous pattern. It can drive forward, backward, turn, rotate, and even drive upside down. We built this robot quite a while ago and are just getting around to posting it now, but it was this little guy that gave us the confidence to know that we could build small intricate robots like Lunokhod and Mini Mars Rover.
Top view of our Tinybot with our custom CNC-machined aluminum top plate.
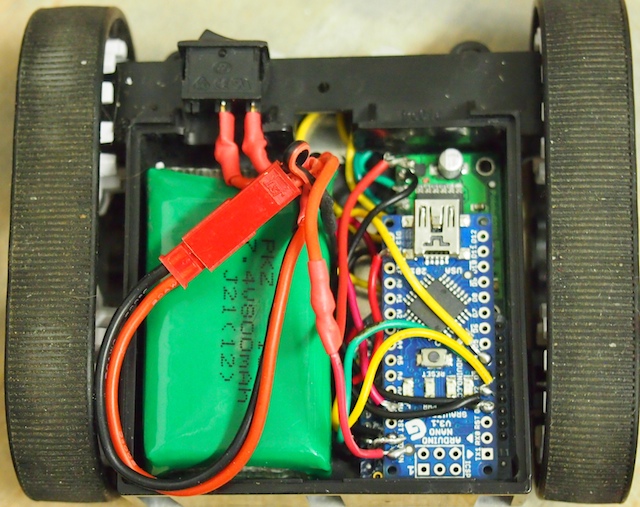
The Tinybot with the aluminum plate removed. The green thing on the left is the tiny LIPO battery. The blue thing is an Arduino Nano without headers. The motor controller circuit board and the hacked down Xbee module are laying flat below that, stacked in layers.
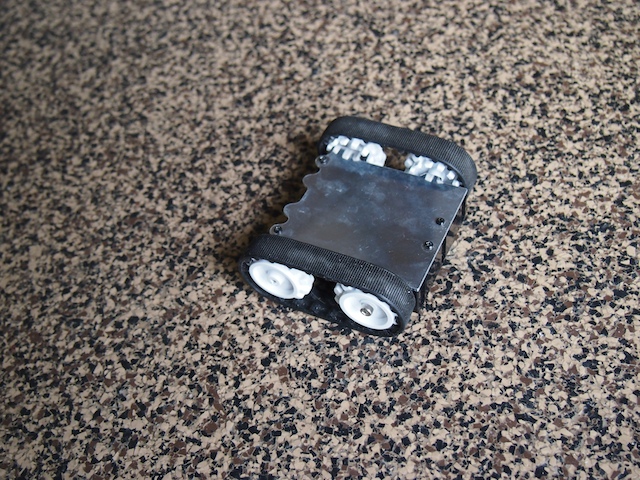
Tinybot
