by Camille | Workshop Blog
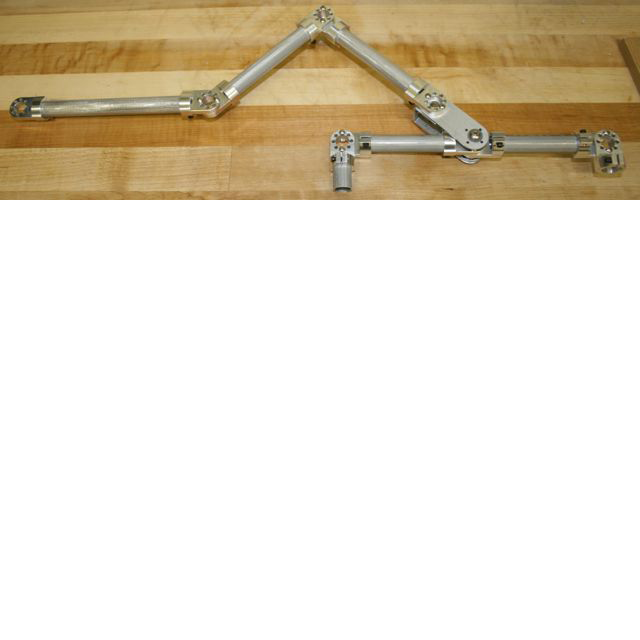
We have been working hard on the rocker-bogie suspension system for the Spirit II, our Mars Rover. In this picture, the front wheel will be attached on the left side. The two back wheels will be attached on the right side. The two back wheels will be connected together by a tube that pivots on its center. The entire thing pivots on a central shaft (connected at the junction second from the left) that goes through the counter-rotating differential to an identical chassis frame on the other side of the robot. We are building the chassis frame out of .625 aluminum tube, tube connectors, and aluminum plate. It takes a bit of imagination at this point to visualize how this is going to become a Mars Rover, but it’s coming along. If it all actually works, we’ll be amazed.

Mars Rover Chassis – in process
by Camille | Gallery, Robots, Slider, Workshop Blog

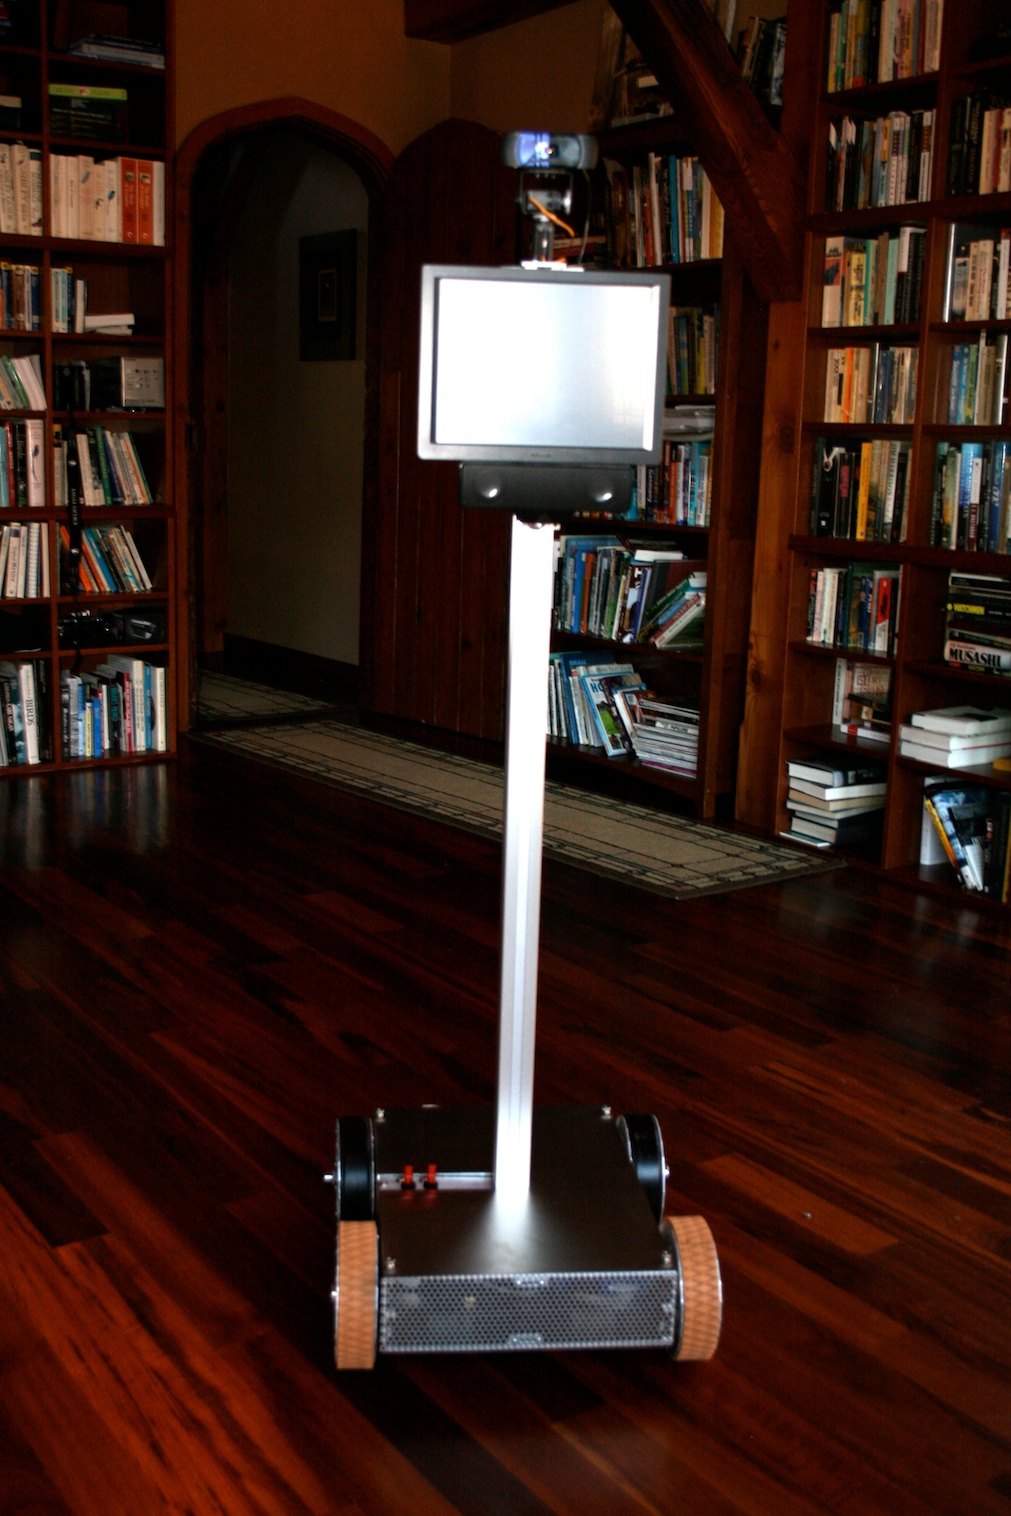
This is Telegance. He is a Telepresence Robot, which means he’s a driver-controlled mobile video conferencing system.
Imagine I’m out in the world. I can use my laptop or any other computer to link into the robot through the Internet. The people around the robot see my face on the robot’s screen. The sound of my voice comes through the speakers, which are mounted just below the screen. I hear through the robot’s microphone and I see through the robot’s camera, which is mounted on two little servos, so I can tilt and pan the camera where I wish to look. I can drive the robot around the house, to the kitchen or the bedroom or where ever, using the robot’s built in motors. His wheels are designed to drive or turn on carpet, tile, and hardwood floors.

Side View of Base

How We Built Him
Telegance was a lot of fun to build, but he was definitely one of our most challenging robots so far. We learned a lot. Telegance is our first robot that is based on a computer rather than a microcontroller chip/board. Our vision was to build a robot based on a Mac. So, we grabbed a Mac Mini, tore it apart, ripped everything off that we didn’t need, rewired it for DC (it was an AC computer), and replaced the conventional hard drive with a Solid State Drive (SSD) (so that we didn’t need a fan, it didn’t make any noise, and it used less power). We installed just the stripped down motherboard into the base of the robot. When it booted up it was silent, fast, and ran on 12 volts like the rest of the robot. We then connected this to an Arduino Mega microcontroller through a USB cable. The Mac Mini, which runs a special Skype plugin, handles the webcam videoconferencing (using Skype), the touch screen, and 802.11b networking. The Arduino handles the drive motors, the webcam pan-tilt servos, power distribution, and other robotic features. We constructed the robot’s frame in our workshop using raw aluminum plate and c-channel. We especially like the cool wheels on this robot.

Touchscreen, Webcam on Tilt-Pan Servos, and Speaker: Telegance Robot

Under the Hood: Mac Mini motherboard (left), Arduino Mega Microcontoller (right), Sabertooth Motor Controller, Xbee Radio
by Camille | Gallery, Robots, Workshop Blog
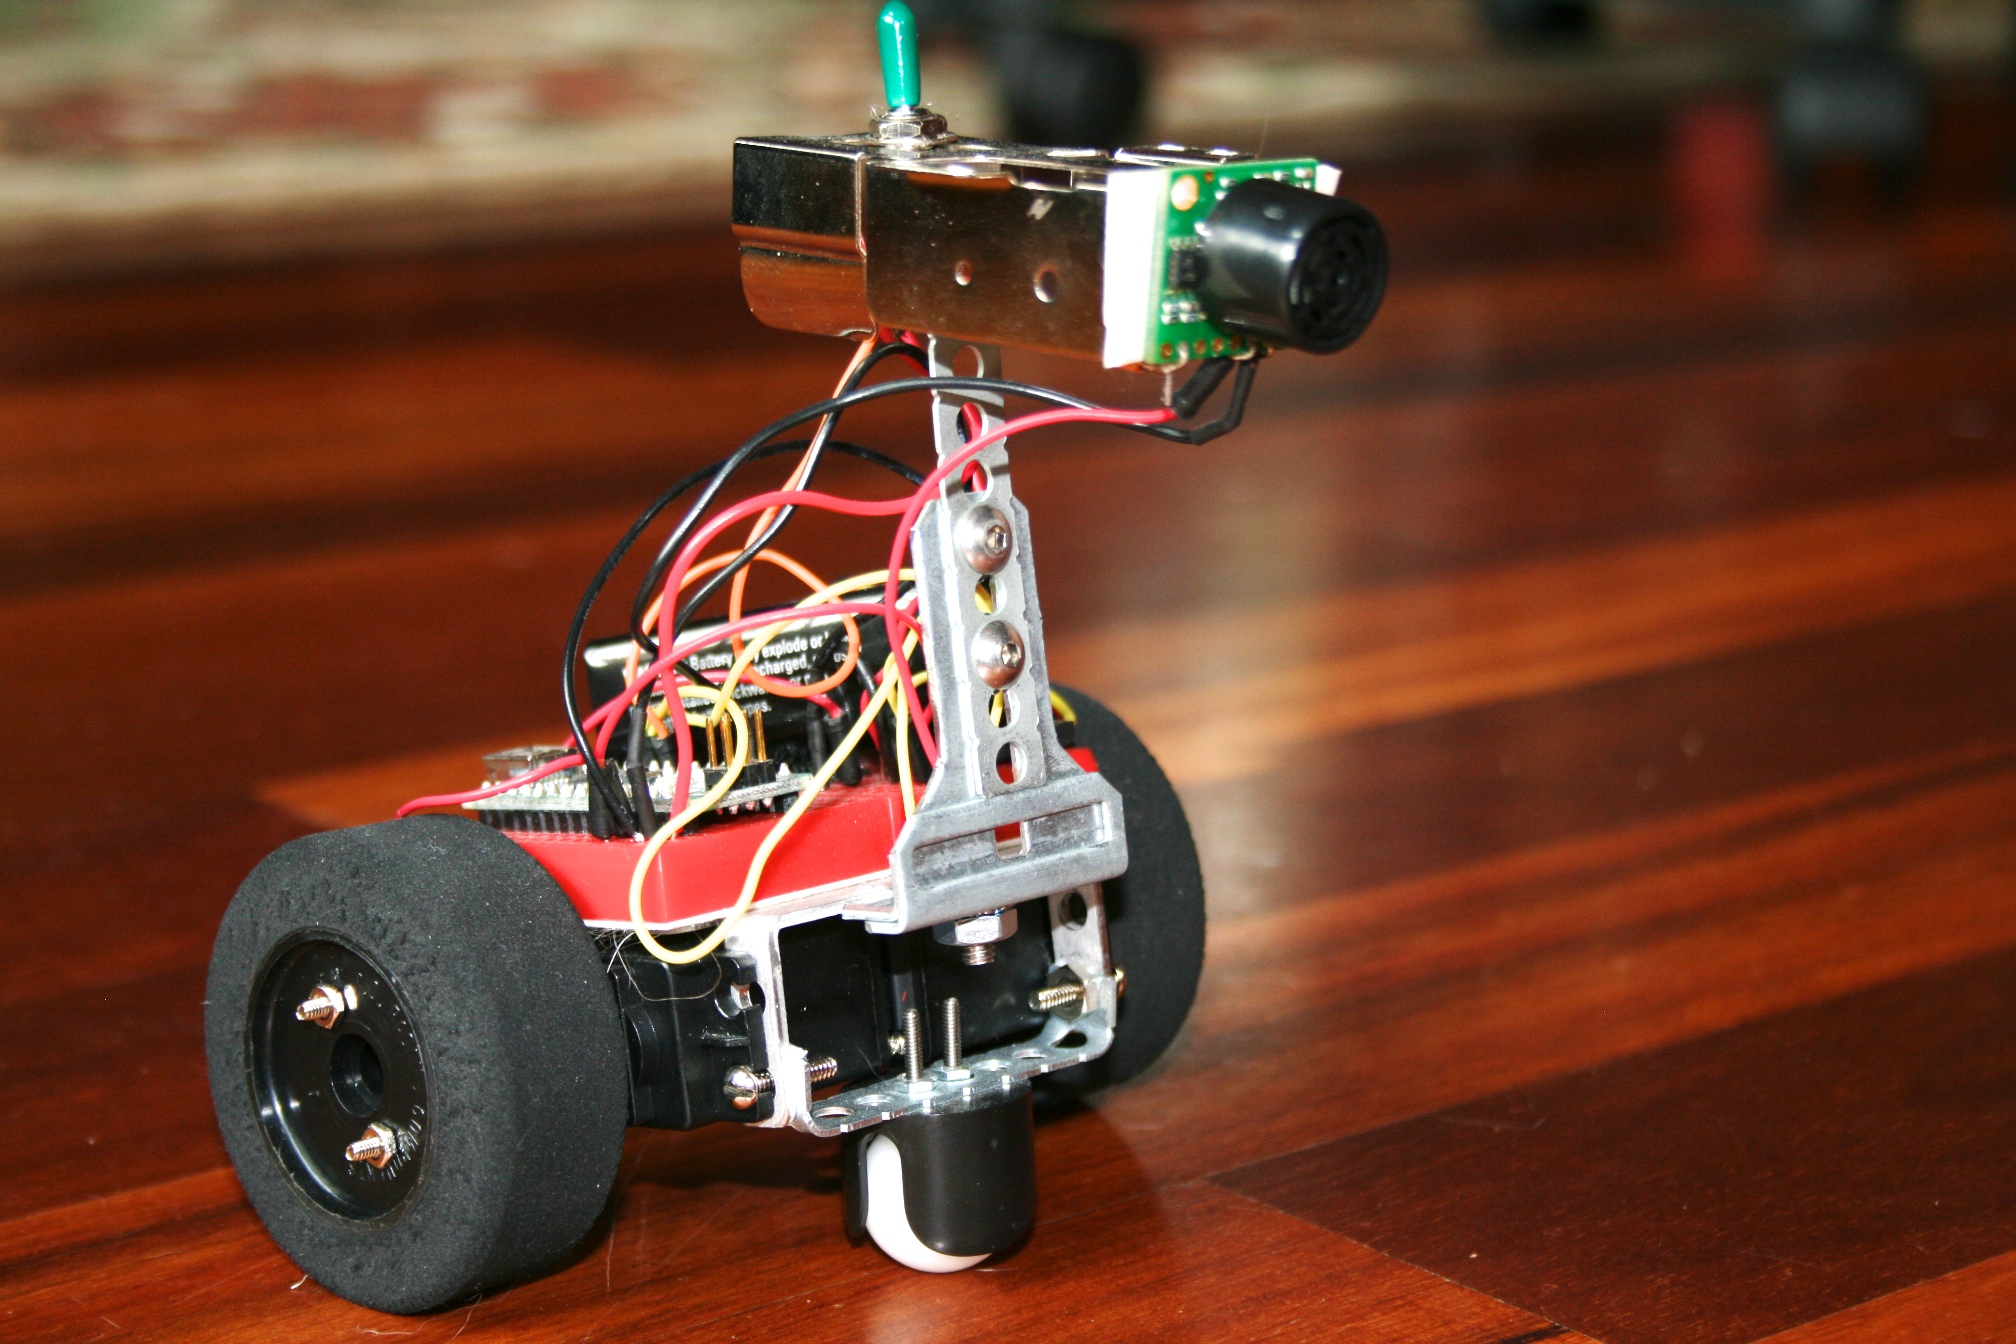
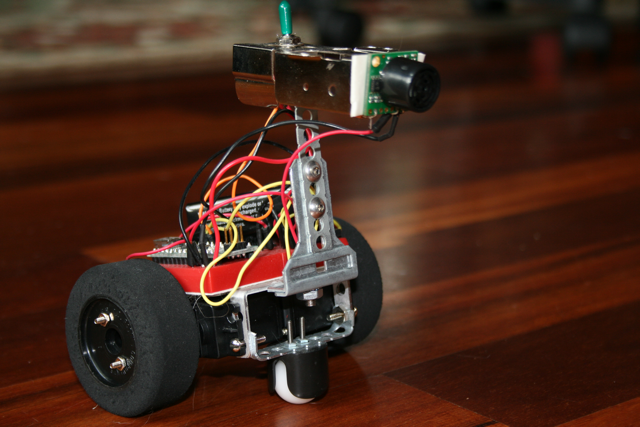
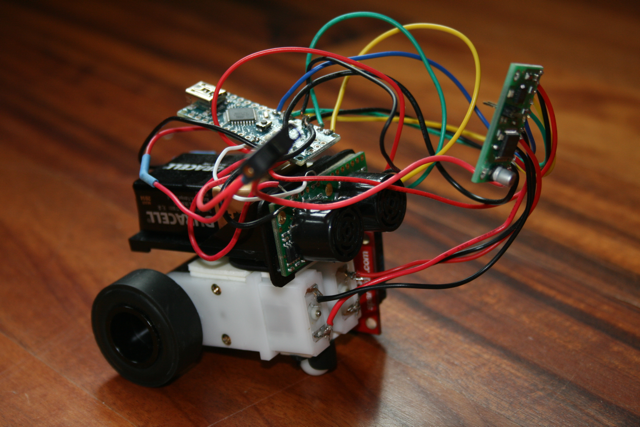
We made these tiny-bots from the small, spare parts of their older brothers. Though not as high-tech as the larger ones, these little guys defiantly beat the record of being the smallest by a long shot. Their size makes it easy to put them in boxes and bring them to school to share with my classmates and tell them a bit about breadboards and Arduinos, soldering and heatshrinks and all of the others. These robots include Sonar obstacle detection, roaming navigation, as well as Remote Control (RC).
I.C. 1-2-3 (Photo Credit: Camille)
Fetch – Photo Credit: Camille
by Camille | Robots, Workshop Blog
For the story of our first little robot, I.C. 12, please visit the About Us page.
OUR FIRST ROBOT: I.C. 12

A proud roboticist holding her first robot (I.C. 12)

I.C. 12 on the workbench


