The Beatty Robotics Telegraph System – Telegraph #1 and #2
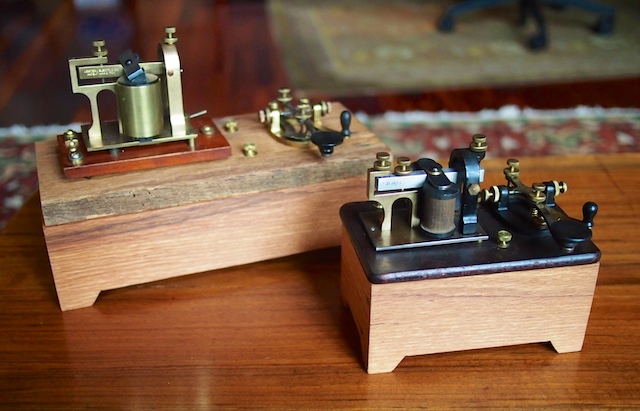
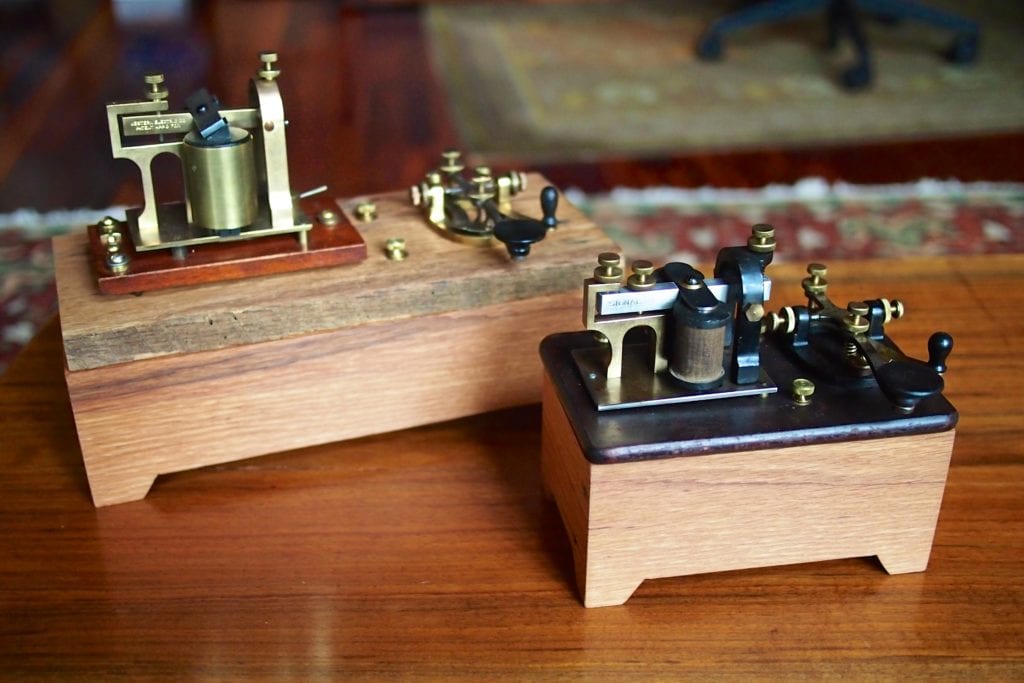
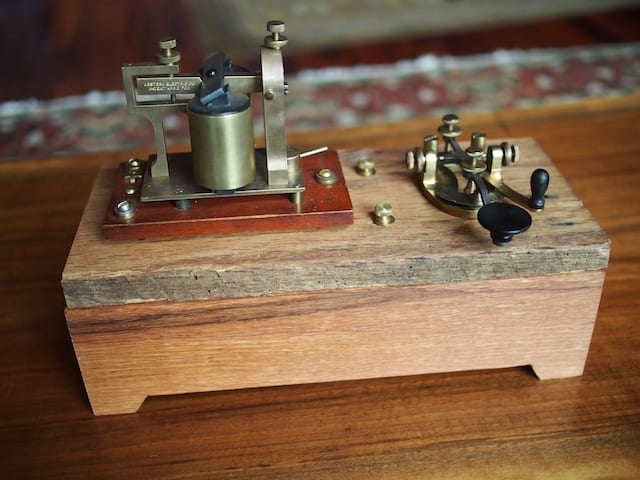
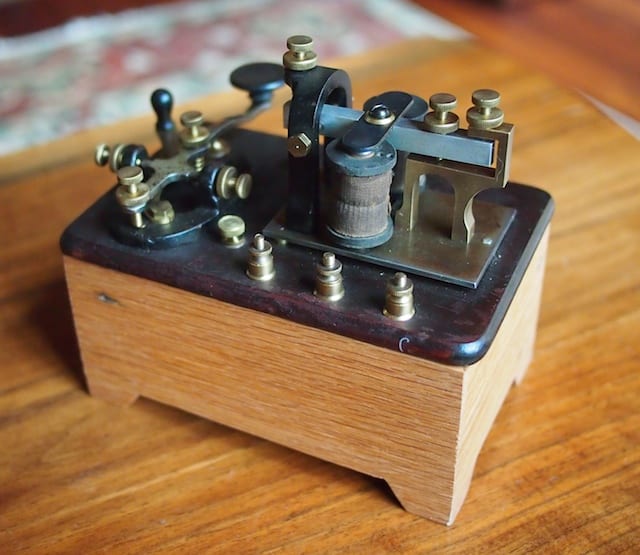
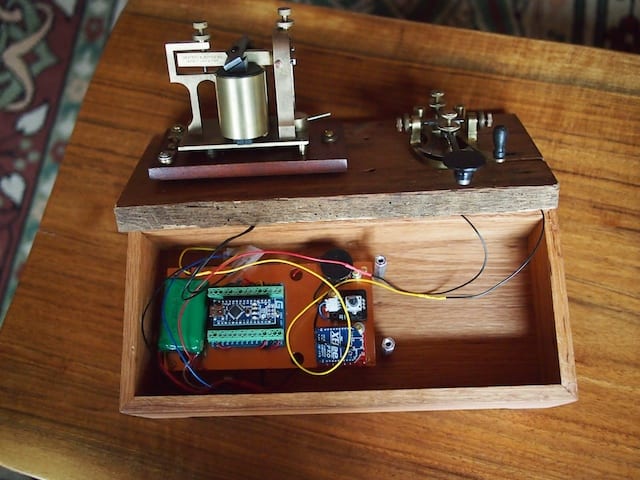
We became interested in morse code and began learning how to use it by tapping rocks and writing dot-dash-dot messages, so we decided to build a proper telegraph system. But we didn’t want just any telegraph, we wanted something cool that looked good and that we could use at a distance. We scoured eBay and found two authentic telegraph keys and sounders from the 1800’s. We cleaned them up, rewired them, got them working, mounted them, and then integrated them into an Arduino microcontroller and xBee RF radio so that they would function wirelessly. Our friend Danny made us some awesome wooden boxes out of the wood from an old barn on our property. We mounted the electronics on copper and brass plates that we machined on our CNC. Then we soldered it all up, programmed the Arduino, and ran our initial tests. The results were excellent. We can now communicate via telegraph even when my sister and I are in our separate rooms, which are on opposite sides of the house, and when we are outside. Here are two postings from our Workshop blog as we were building the telegraphs. I’ve put some pictures of the nearly completed telegraphs below. We aren’t quite done yet. There’s still a few more things to do, but they are looking and working great so far.
Like many people, I love good quality tools. One of the most important tools we have in our workshop is a mini table saw with a 4″-diameter blade. We use it all the time, on pretty much every project we build. Occasionally, we use the full-sized table saw to cut large material, but in general, we prefer the 4″ mini table saw because it’s easier to work with, quieter, safer, and more precise. Thus far, we’ve used two Proxxon models, which is a German company that makes excellent small power tools for model builders. I’ve really enjoyed using their tools over the years. I have always considered their 4″ table saw the best on the market. Until now.
Earlier this year I read an article about Jim Byrnes, the founder of Byrnes Model Machines in Orlando, Florida. Jim and his crew hand build high-precision mini-table saws for model builders, especially model ship builders. I studied his machines online, read everything I could about them, and then finally contacted Jim with a special request. I wanted him to build me one of his 4″ table saws, but I needed a table and fence that could make up to a 6″ wide cut (other mini table saws can’t cut this wide).
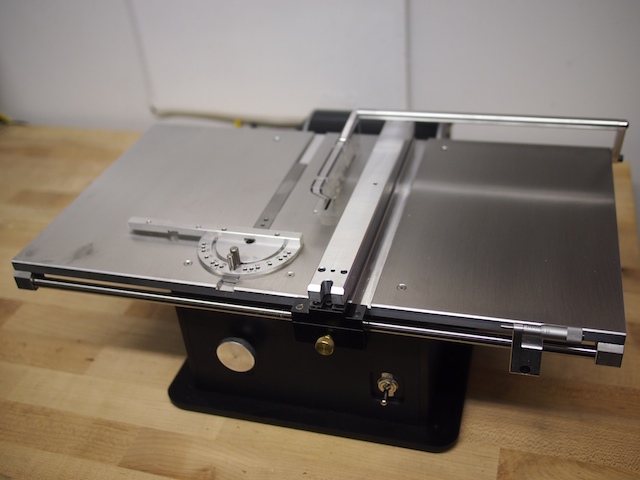
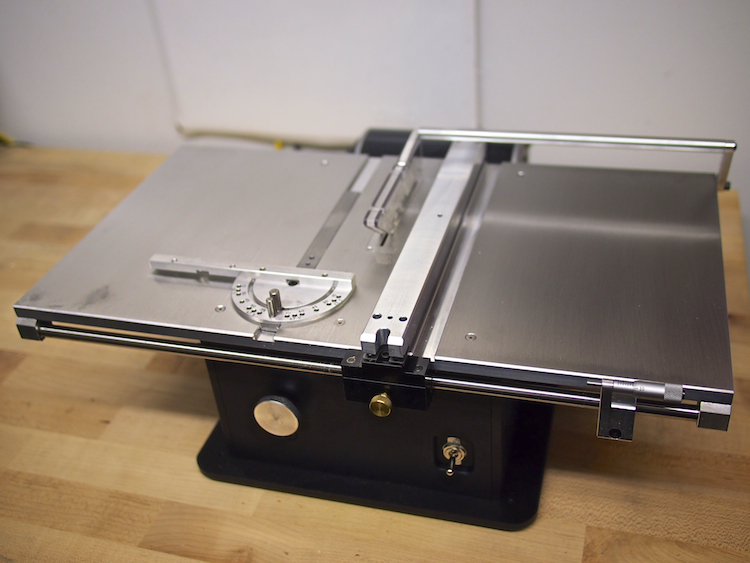
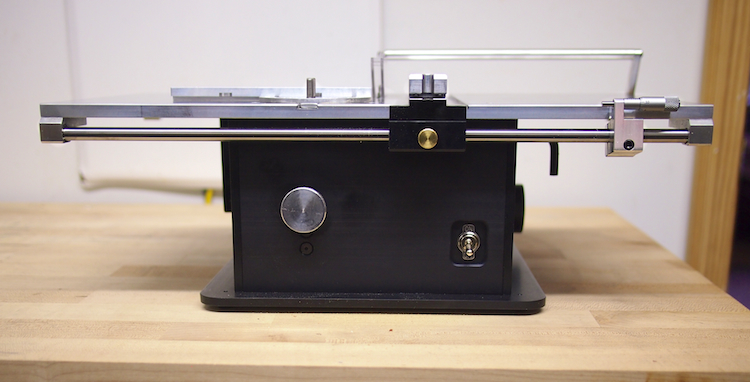
Jim took up the challenge, made the machine in his shop, and I received the package today. It is a truly fine piece of high-precision machinery. I’ve only done a few test cuts, but I’ve already fallen in love with it. It’s by far the finest, most precise power tool I’ve ever used. I’m extremely happy with it and can’t wait to get into some serious projects with it.
Why do I love it so much? Let me count the ways…
First, its smooth, shining, machined metal surfaces immediately strike you as being ultra high quality. The Proxxon, for all its positive merits, had an aluminum table, but otherwise was mostly plastic.
Second, the all-important fence on the Byrnes is far superior to the Proxxon. The Proxxon fence never struck me as completely square and it was often frustrating to work with. I would get my stock in position, but then when I tightened down the fence, the fence would move slightly off square, which wasn’t a good feeling. On the Byrnes, the fence slides wonderfully and seems perfectly steady and square. The Byrnes also comes standard with an excellent, well-thought-out miter gage with set pins for the common angles.
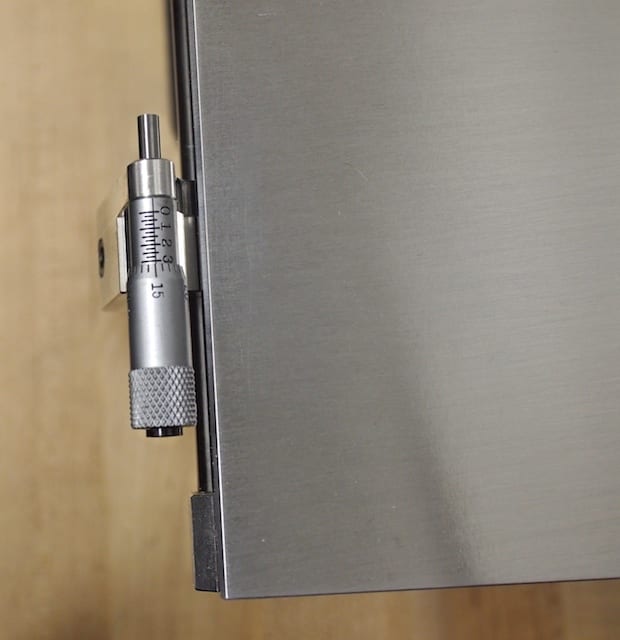
I also selected the “Micrometer stop” option, which provides a true micrometer built into the saw so that you can make very fine adjustments to the fence position.
Thirdly, the saw is just a pleasure to use. I love the smooth movement and tight fit of all the components, and it’s extremely quiet and vibration-free when it cuts.
Finally, I love the old-school feel to this machine. It has a classic steel ON/OFF toggle switch on the front and various knurled brass adjustment knobs. Everything about this machine says MADE IN AMERICA with personal pride and true craftsmanship. A few years ago, if you had told me that I would someday write a review of a table saw, I would have thought you were crazy. But this saw is inspiring. 🙂
After watching a glass worker in the River Arts District in Asheville, I decided to try my hand. We already had a torch for heat shrinking wires, and the safety gear, so she bought some glass stock and other supplies and went to work on it. Here’s a picture of my sister and I doing our first experiments.
Today, we worked on the wireless telegraph project. We decided to mount the electronics on brass and copper plates, so we designed the parts on the CAD system and then machined the parts on our home made CNC mill (one of our many projects over the last year). Using the CNC to make project parts was a really cool use of what has become our favorite tool. Here are some pics of the CNC.
Here is our CNC mill just after machining the copper telegraph base plate. Top left: the computer and electronics box we built. Top center: Cooling tower for the water-cooled spindle. Top right: The 3-phase Variable Frequency Drive (VFD), which powers the 24,000 rpm spindle, is mounted on the wall. Mounted on the wall just below the computer box: an LCD panel for the CNC user interface. Right hand side: The stepper-motor-driven CNC machinery, which is made out of steel and aluminum. You can see the copper part on the blue riser (which is machinable wax). Front center: the system’s keyboard, the emergency stop button box we built, and the jog box (for moving the CNC manually).
A close up of the copper base plate just after it has been machine by the CNC.
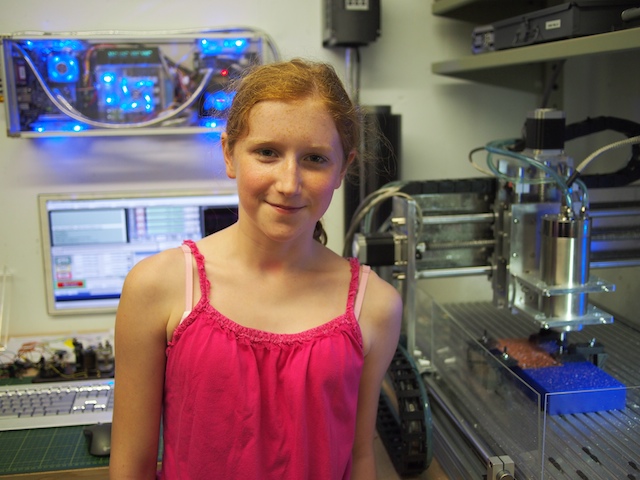
Camille showing off her new copper base plate, fresh out of the CNC
We needed two of the base plates (one for each side of the telegraph system), so we machined the second one out of brass instead of copper (using the same CNC file).
Here Camille assembles the telegraph electronics onto the baseplate
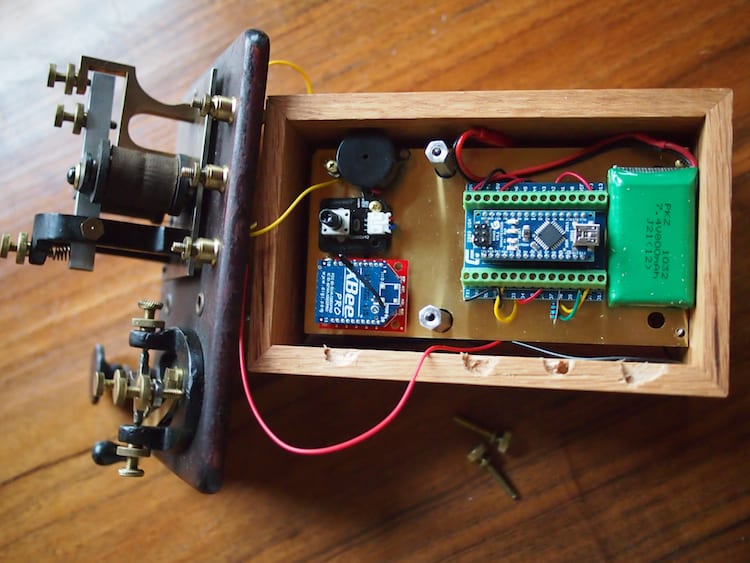
Here are the electronics for the telegraph system mounted on the copper plate. The electronics shown here include an Arduino Nano in a screw terminal board, a 7.4v Lithium Polymer Battery, an Xbee Radio, a potentiometer (for tuning the voltage to the Telegraph Sounder), and a small speaker). This copper plate will be mounted inside the base of the telegraph system.
Here at Beatty Robotics, we have a keen interest in mixing cool, old technology with exciting new technology. Recently, we became interested in Morse Code and telegraph equipment. We began exchanging written secret messages in Morse Code. And then we continued on by learning to tap the codes with rocks and listen to them at some distance. We are still learning and practicing, but it’s pretty clear that they are getting better and better and will soon be fluent. So now we’ve embarked on our next project, which is to build a functioning telegraph system by refurbishing several very old, antique telegraph keys and sounders, and then combining then with our modern electronics knowledge. We aren’t ready to show the completed project quite yet, but here are some pics of us wiring up the electronics. As we complete the project over the next few weeks, we’ll post pictures of the complete telegraph system (we’re hoping it’s going to look pretty cool), an explanation of how it all works, and the list of components.
Genevieve solders the headers on the Arduino Nano while I wire up the screw terminal board
I power up our wireless Xbee LCD screen to see if test messages are being transmitted properly from the Telegraph key. (The telegraph system itself won’t include an LCD screen. This was just for a test.)
Working together on some delicate soldering on the main microcontroller