TinyBot
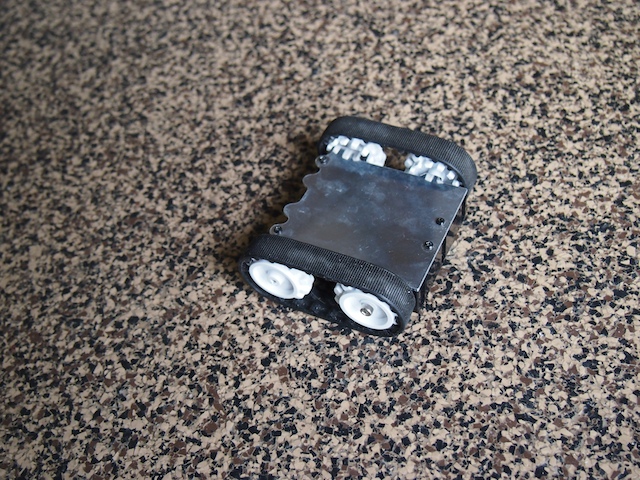
This is Tinybot. About 3″ long and just 1.5″ high, this is one of the smallest robots we’ve ever built. Starting with a Pololu Zumo drivetrain, we set out to see if we could get all the components of the robot INSIDE what was originally its 4 AA battery compartment. We used our CNC to make a cool aluminum top plate. Two tiny gear motors drive the rubber treads. We cut the pins off an xbee radio and soldered it directly to an Arduino Nano’s 3V pin and digital pins so that we didn’t need to waste space with an adapter board or wires. The robot also includes a tiny motor controller, a little 800 mAh 7.4V LIPO battery, and a rocker switch. This neat little robot works beautifully. It zips around with incredible agility, either via xbee-based remote control or through a pre-programmed autonomous pattern. It can drive forward, backward, turn, rotate, and even drive upside down. We built this robot quite a while ago and are just getting around to posting it now, but it was this little guy that gave us the confidence to know that we could build small intricate robots like Lunokhod and Mini Mars Rover.
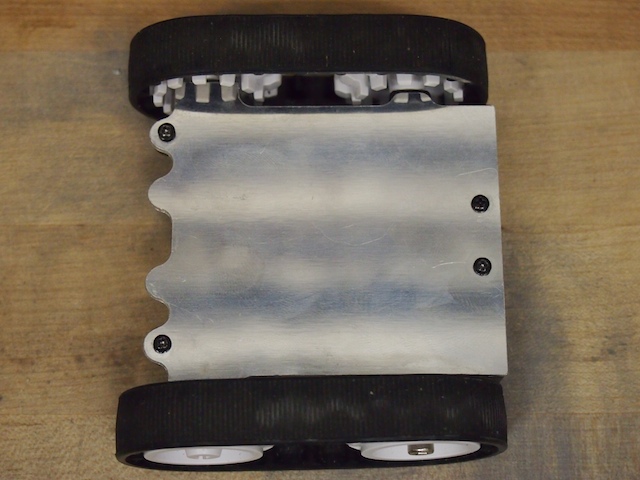
Top view of our Tinybot with our custom CNC-machined aluminum top plate.
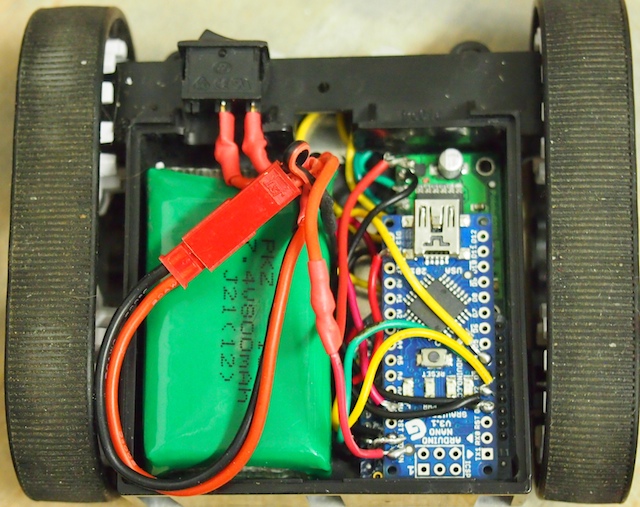
The Tinybot with the aluminum plate removed. The green thing on the left is the tiny LIPO battery. The blue thing is an Arduino Nano without headers. The motor controller circuit board and the hacked down Xbee module are laying flat below that, stacked in layers.
Tinybot