by Camille | Non-Robot Projects, Workshop Blog
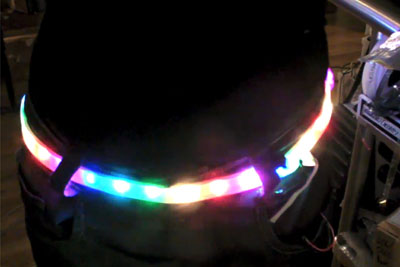
When we were ordering some parts for our Mechatron robot and we discovered a cool strip of LED lights that worked based on “RGB,” which stands for Red-Green-Blue. These are special LED lights that you can program to whatever color you want by combining red, green, and blue together. I looked at my sister and asked if she was interested in making a “Blinky Belt” that we could wear and would light up in various patterns. “Yes!” she said. When the parts arrived, we started building immediately. We cut wires, soldered, and heatshrank. I learned how to tin wires for the first time. Then we soldered the strip of little lights to a tiny Arduino microcontrolller. Then we connected it to a belt buckle and a little pouch to hold the battery and electronics. After we were done with the building phase, we worked on programming it. We were able to program each little light separately so we could make any pattern we wanted, including violet, green, and other colors. Because it was the 4th of July, we made a wild red, white, and blue dancing pattern. It was fun to hold sparklers with a glowing Blinky Belt!
We’ll post a video soon, but for now, here’s a pic.

Blinky Belt
You can purchase the main kit at Adafruit here.
You can put the electronics in this case: http://www.amazon.com/gp/product/B001OBYPQ4
Attach it all together with this to make it a true belt: http://www.amazon.com/gp/product/B000OR5QRQ
by Camille | Workshop Blog
We flipped on the power switch for our robot named Security. Then a low rumble erupted from somewhere in the room. The song Mr. Roboto began to play and the robot danced, moving back and forth, spinning and turning, playing its lights–all to the music. It was hilarious! We learned how to change the robot’s software so that I could control the pattern of the robot’s dance. I made the dance longer, more complicated, and even more fun than it was before!
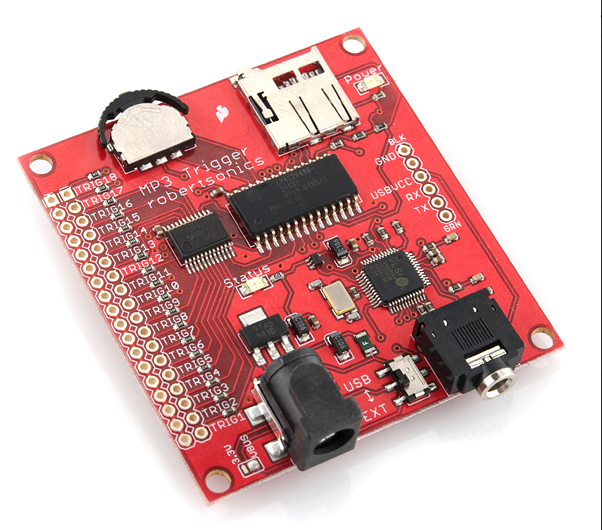
A lot of our robots now talk, play sound effects, or play music, including Security, Roamer, and Mechatron. They have different ways of talking. Roamer uses a text-to-speech chip that my Uncle Chris helped solder into place, and the others use a tiny sound board that reads MP3 files from a micro-SD card. Most of the talking robots say “Roger, roger” because we want them to be a bit like the Battle Droids in Star Wars. It is so much fun to make them say things!

One of the mp3 sound boards we use in our robots
by Camille | Robots, Workshop Blog
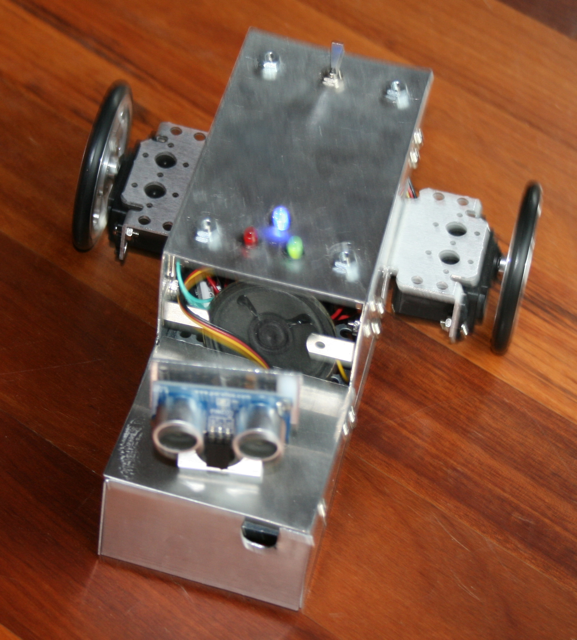
When I first saw Roam-bot I thought he was pretty cool. He talked (at this time we had no talking robots) and he had a aluminum box that hides all of his wires. He was neat, and could go by himself using ping sonar.
When you first turned him on he says “Ready, roger, roger, find best direction” in a deep voice then turns his head to each side saying the number of inches until an object. He says “_ inches, _inches, _ inches” Then goes the direction in which there is the most amount of inches. Now that’s pretty awesome!
We ran into a problem when we came to the point were we needed a caster. No sizes fit his front. While waiting for different sizes to be delivered, we temporally put on a furniture felt pad on so we could still play with him. It worked great! Still none of the sizes fit, so it became permanent. He now can only go on wood floors, but thats okay because we have lots of it!

Roaming Robot

Roaming Robot – Top View

Roaming Robot – Front View
by Camille | Non-Robot Projects, Workshop Blog
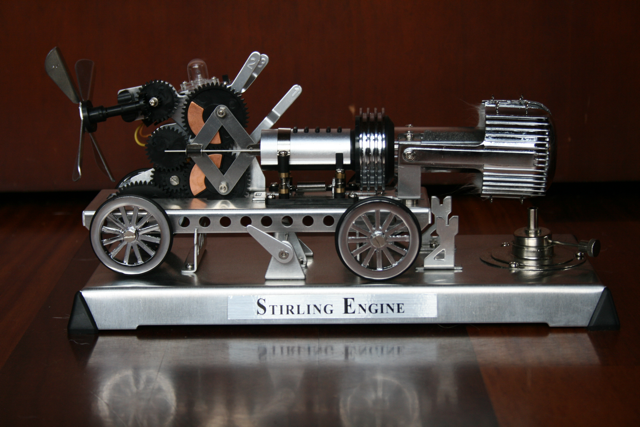
We built this cool Stirling Engine from a Japanese kit. The instructions were in Japanese so we had to use the pictures and what made sense. It was so much fun!
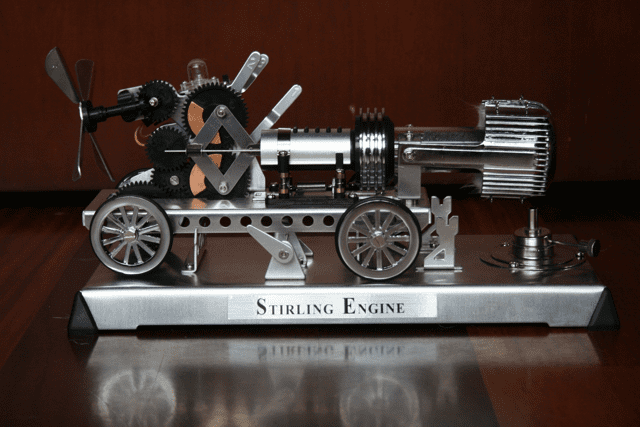
Stirling Engine Photo Credit: Camille
by Camille | Workshop Blog
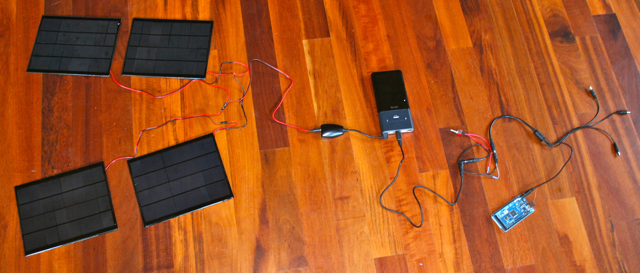
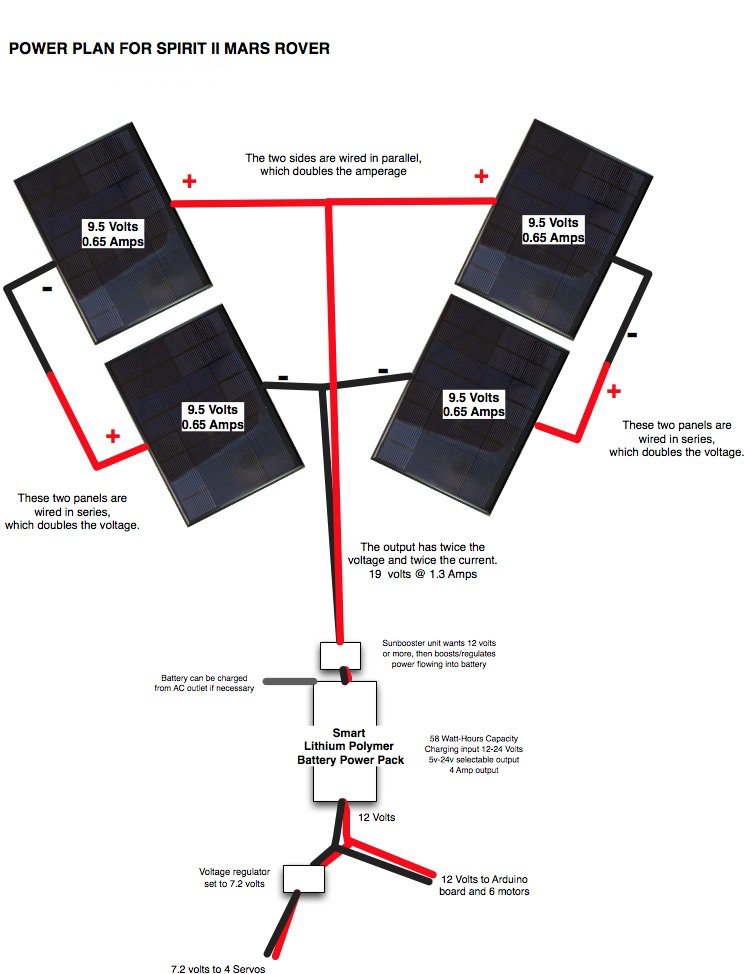
We’ve been working on the power system for our Spirit II Mars Rover, which, like the real Spirit robot on Mars, will be solar powered. We plan to use four small solar panels. Each one is about 7″ x 9″ and delivers about 9.5 Volts / 0.65 Amps / 5.2 Watts.
We wired two pair of panels into a series circuit to double the voltage of the output, then wired the pairs together into a parallel circuit to double the current amperage. We the combined unit to a little voltage regulator that feeds a lithium polymer smart battery, which in turn will feed the electronics, motors, and servos of the Mars Rover robot.
Today we wired the panels in series/parallel, hooked everything together, and powered our main Arduino microcontroller. It worked and it was very cool!

COMPLETED POWER SYSTEM FOR MARS ROVER

CLOSE UP OF ROBOTICS SOLAR PANEL
