A miniature power distribution unit (PDU)
Over the weekend, we built a small Power Distribution Unit for a new robot. We hacked a male Deans connector (which will plug into a high-amp LIPO battery), then soldered it into a marine toggle switch, then screwed it into a device of our own creation. We constructed a miniature power strip with screw terminals to power the various 12 volt electronic components of the robot, such as the motors, Arduino board, IMU, and others. We built it by soldering 8 individual screw terminal pairs to a tiny circuit board that we cut to be just big enough to fit them (about 1.6″ x 0.6″). Then we soldered all the pins on each side together so that voltage will flow down one line and ground will flow down the other. You can see in the picture that we have one small electronic component connected so far. In the past, we’ve just soldered all our power wires together into a big hunk of solder and then heat shrunk the whole thing, but using that approach made it difficult to add new components later on. We think this screw terminal idea will be more flexible by allowing us to add, subtract, and swap components as required.
I don’t understand why some company doesn’t already make a small Power Distribution Unit like this. We aren’t the only ones who need to distribute power to various components. I’ve looked and looked but can’t find anything that’s even close (i.e. small), which is why we decided to build this one ourselves. If anyone has any better suggestions, or has a source for small terminal strips for distributing power, please let us know.
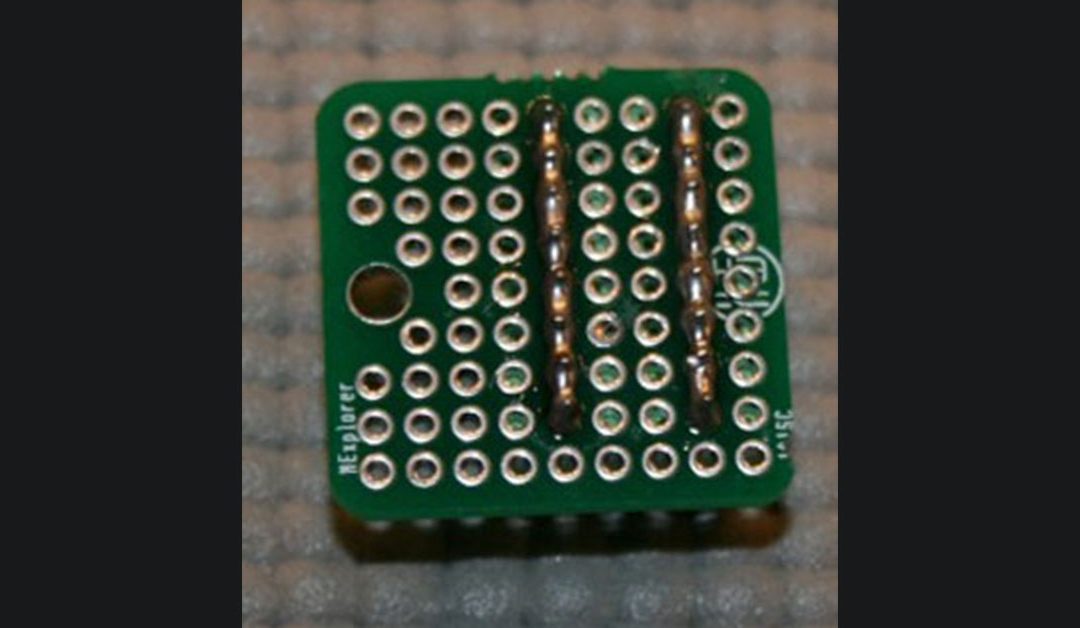
We also built a second screw terminal strip that was even smaller (1″ x 0.6″) for powering up to 8 lower current devices, such as the various 5 volt electronic components. See the pictures of the small green device below, with views of the top and bottom. When we did the soldering, I asked Genevieve to create two long caterpillars of solder along the row of pins. I think she did a very good job.
Building a couple of PDUs is a humble beginning, but every robot has to start someplace. 🙂

Genevieve building Power Distribution Unit

Our homemade mini Power Distribution Unit

Top Side View of our mini low-amp Power Distribution Unit
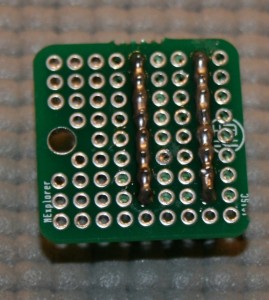
Underside view of the mini PDU showing Genevieve’s soldered “Caterpillars”


