
by Camille | Workshop Blog
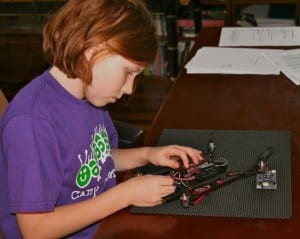
Today, we upgraded our little mini quad rotor flying drone that we call “The Black Hornet.”
We replaced his main board, installed new propellers, re-fixtured his motor mounts, and got him in good flying shape. He flew steady and strong in our test flights.

Genevieve soldering the main circuit board for the Black Hornet
Genevieve connecting electronics on the Black Hornet mini quad rotor

Genevieve finalizing the upgrades on the Black Hornet mini drone
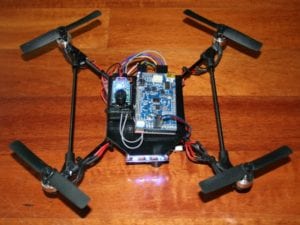
The fully-upgraded Black Hornet mini drone
by Camille | Non-Robot Projects, Workshop Blog
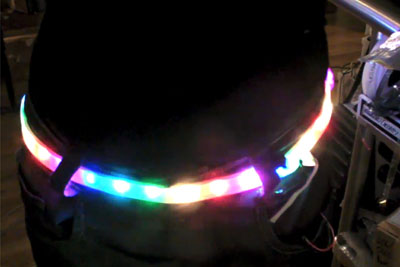
When we were ordering some parts for our Mechatron robot and we discovered a cool strip of LED lights that worked based on “RGB,” which stands for Red-Green-Blue. These are special LED lights that you can program to whatever color you want by combining red, green, and blue together. I looked at my sister and asked if she was interested in making a “Blinky Belt” that we could wear and would light up in various patterns. “Yes!” she said. When the parts arrived, we started building immediately. We cut wires, soldered, and heatshrank. I learned how to tin wires for the first time. Then we soldered the strip of little lights to a tiny Arduino microcontrolller. Then we connected it to a belt buckle and a little pouch to hold the battery and electronics. After we were done with the building phase, we worked on programming it. We were able to program each little light separately so we could make any pattern we wanted, including violet, green, and other colors. Because it was the 4th of July, we made a wild red, white, and blue dancing pattern. It was fun to hold sparklers with a glowing Blinky Belt!
We’ll post a video soon, but for now, here’s a pic.

Blinky Belt
You can purchase the main kit at Adafruit here.
You can put the electronics in this case: http://www.amazon.com/gp/product/B001OBYPQ4
Attach it all together with this to make it a true belt: http://www.amazon.com/gp/product/B000OR5QRQ
by Camille | Robots, Workshop Blog
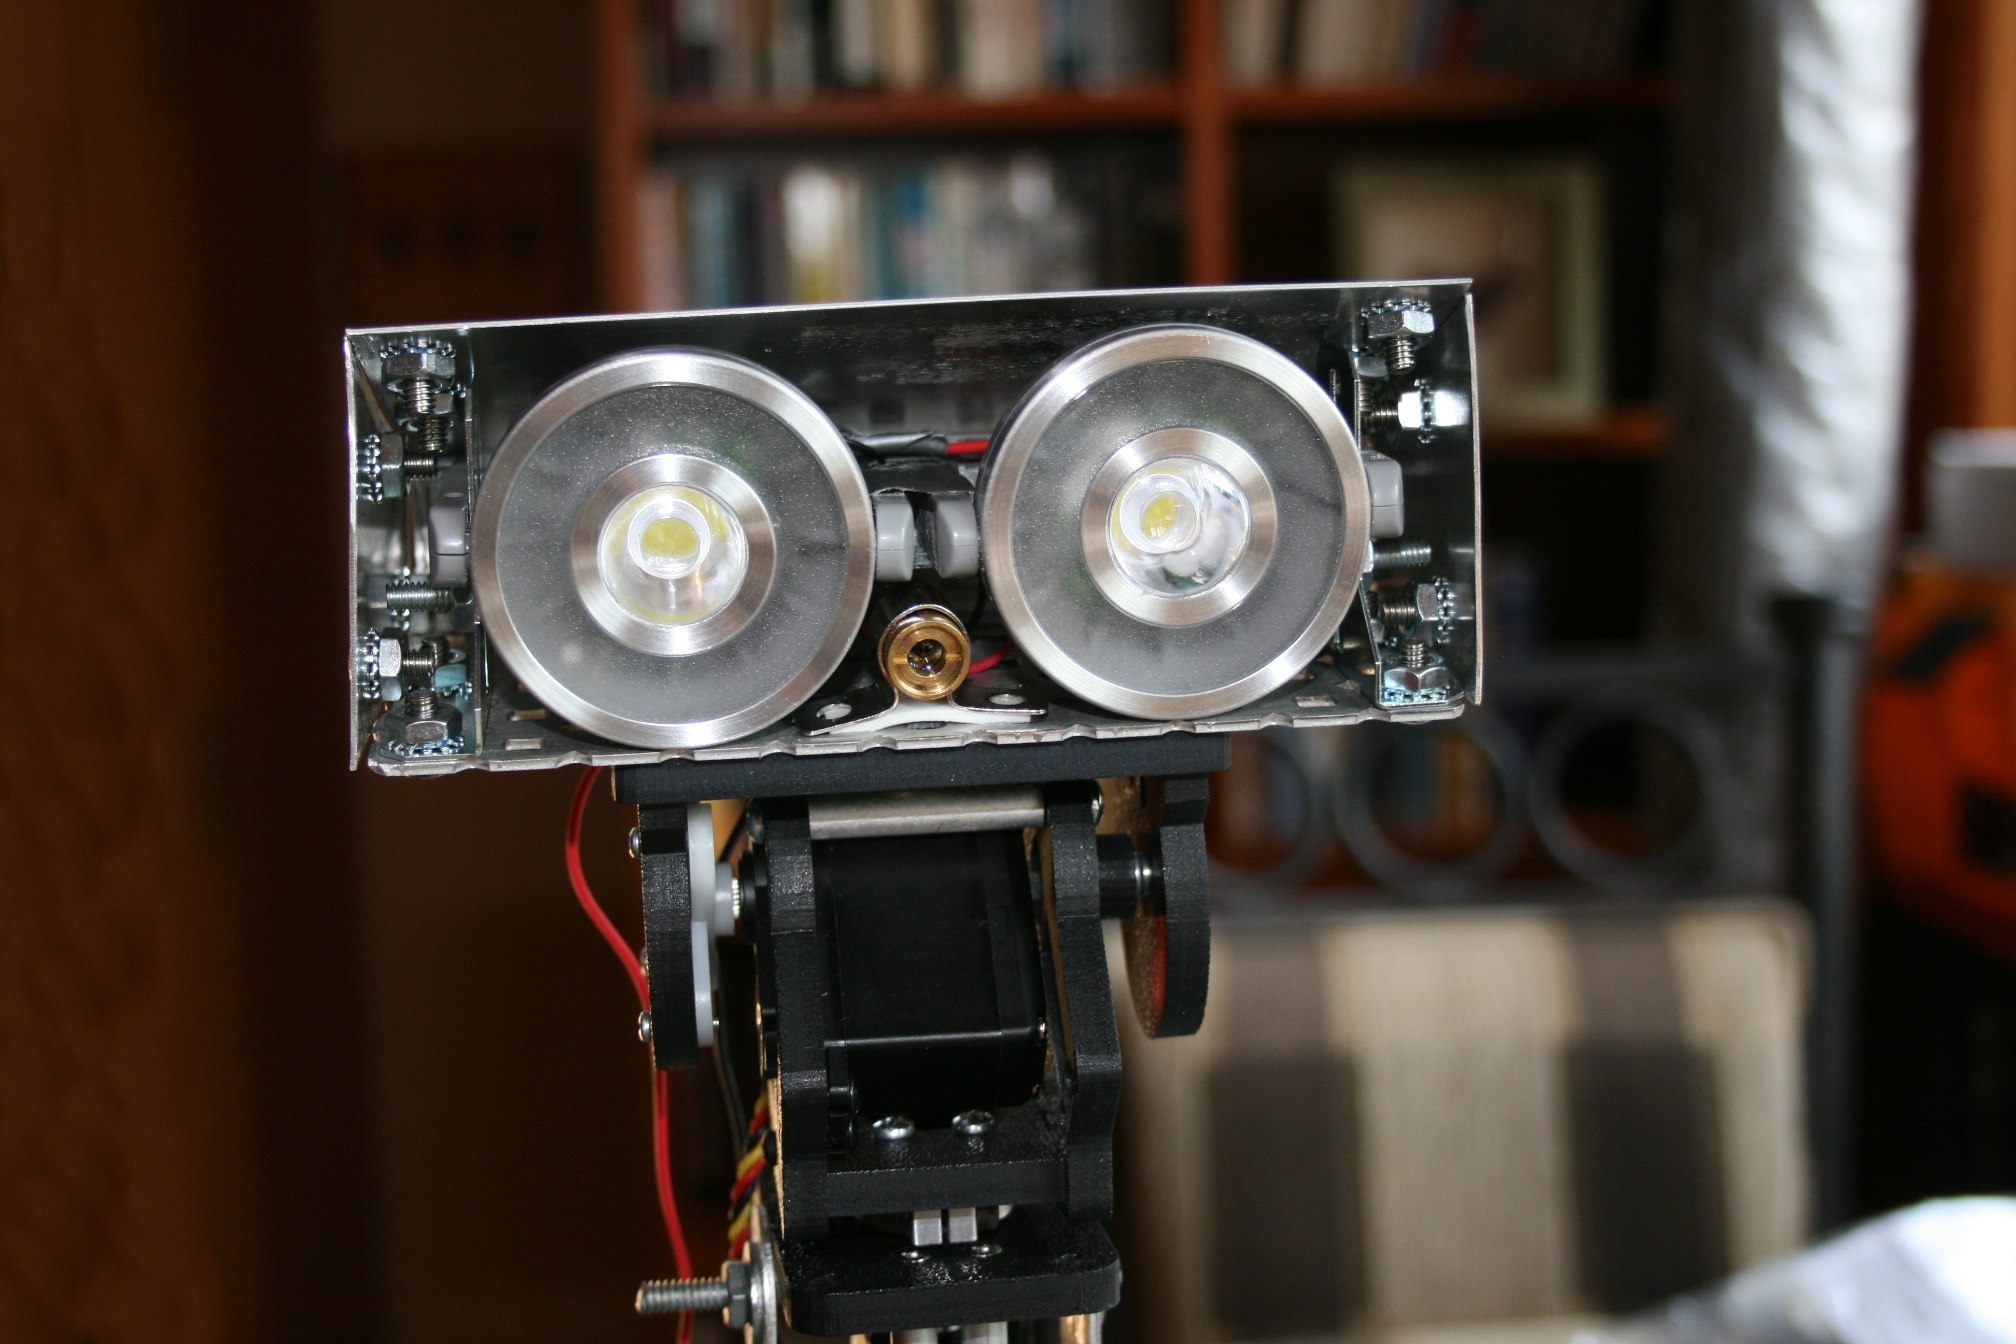
For the story of our first little robot, I.C. 12, please visit the About Us page.
OUR FIRST ROBOT: I.C. 12

A proud roboticist holding her first robot (I.C. 12)

I.C. 12 on the workbench


