Machining a Custom Case for GoPro Camera
We are in the process of mounting a GoPro camera onto our latest robot. In our previous post we showed how we hacked into the GoPro and wired it up so that we could control it from the robot’s Arduino microcontroller. The next task was to design and machine a case for it. As usual, the CAD design work took longer than the actual machining. It was a fun and challenging little machining project. The end result isn’t perfect, but I think it came out pretty nice, and it will definitely serve the purpose. Our case needed to have these characteristics:
- Protect the GoPro and make it look cool on the robot.
- Provide slots for running the remote control wires.
- Cover up all the GoPro’s buttons so that museum participants and technicians can’t play with the buttons (and mess up the settings in the camera). The camera will be entirely controlled by the robot.
- Provide specialized tapped mounting holes for specific placement on the turret of our robot.
- Provide a lens cover to protect the GoPro’s lens.
- Provide space and protection for the HD transmission cable and modified USB cable plugged into the side ports.
FRONT VIEW OF CAMERA IN CASE

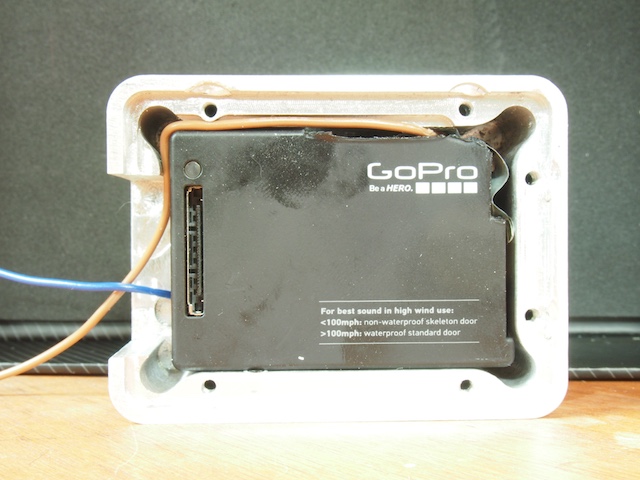
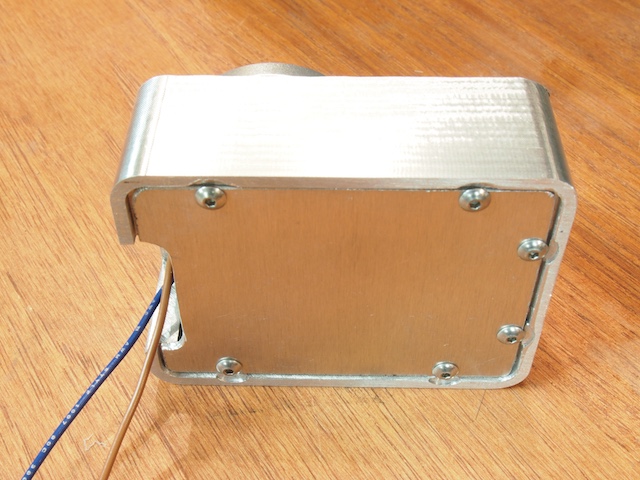
REAR SIDE WITH REMOVABLE PLATE
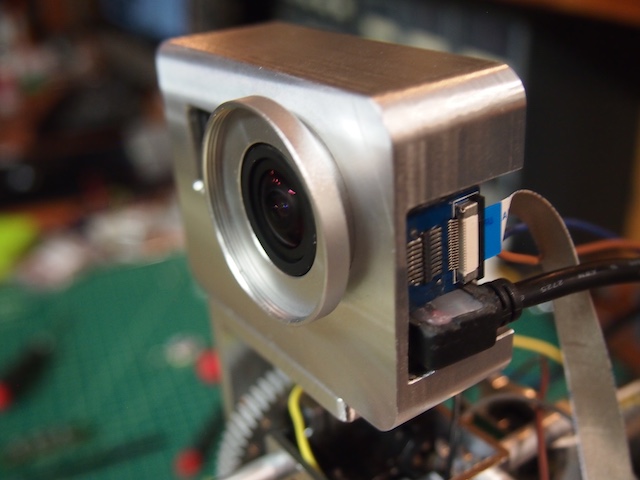
CORNER VIEW SHOWING HD CABLE AND USB CABLE PLUGGED INTO PORTS
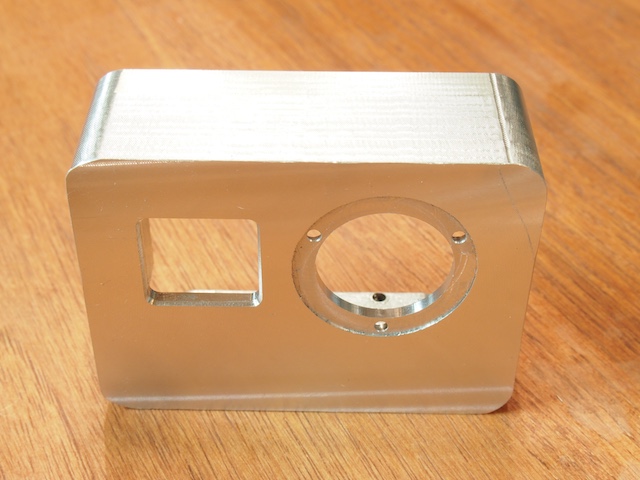
EMPTY CASE BODY MACHINED ON CNC
REAR OF THE CASE BODY SHOWING WIRE SLOTS AND OTHER DETAILS

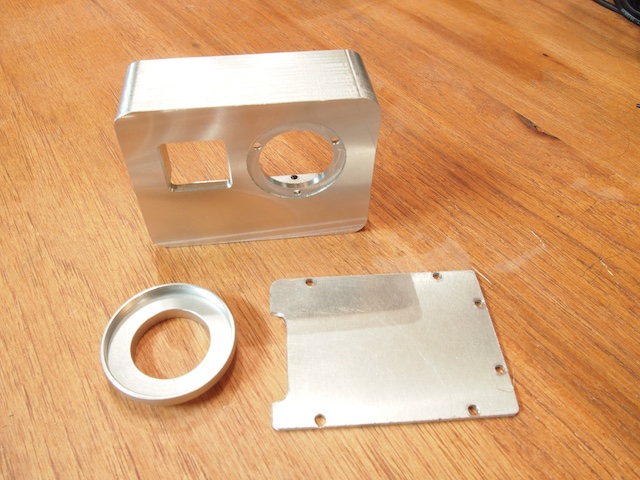
THREE COMPONENTS OF THE CASE (2 custom machined parts + a lens circle hacked from something else)
REAR VIEW – CAMERA IN CASE